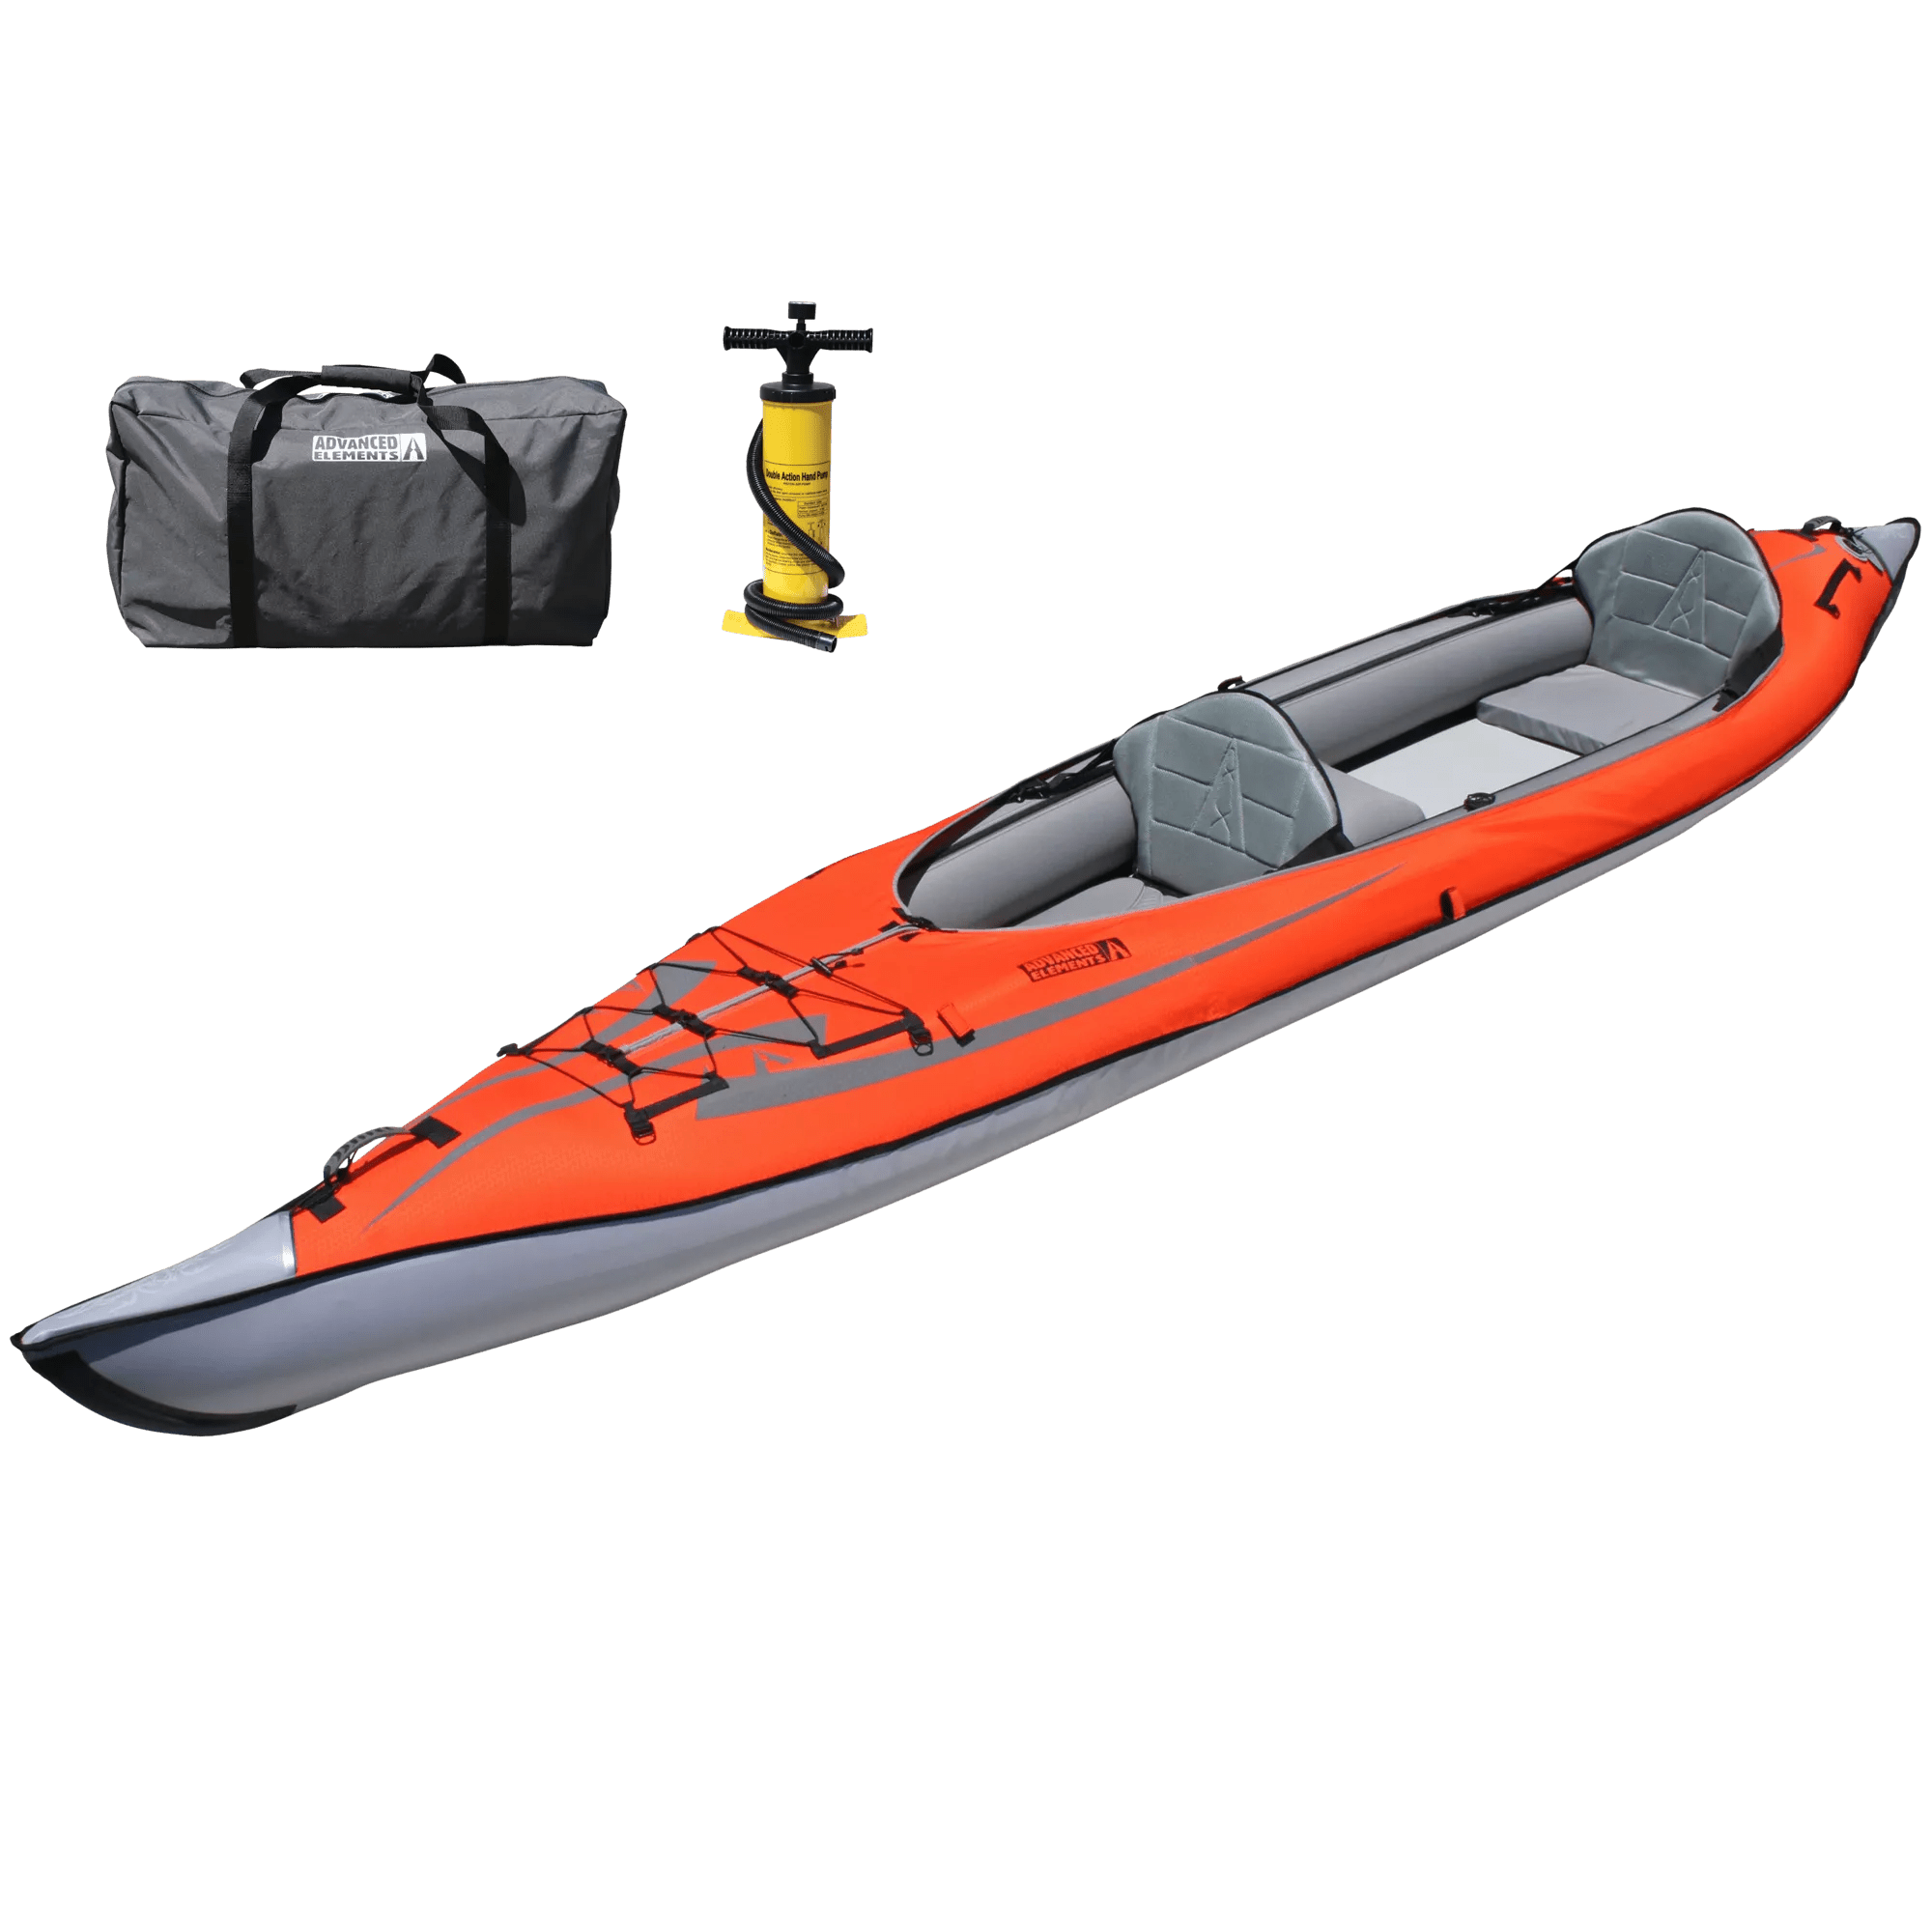
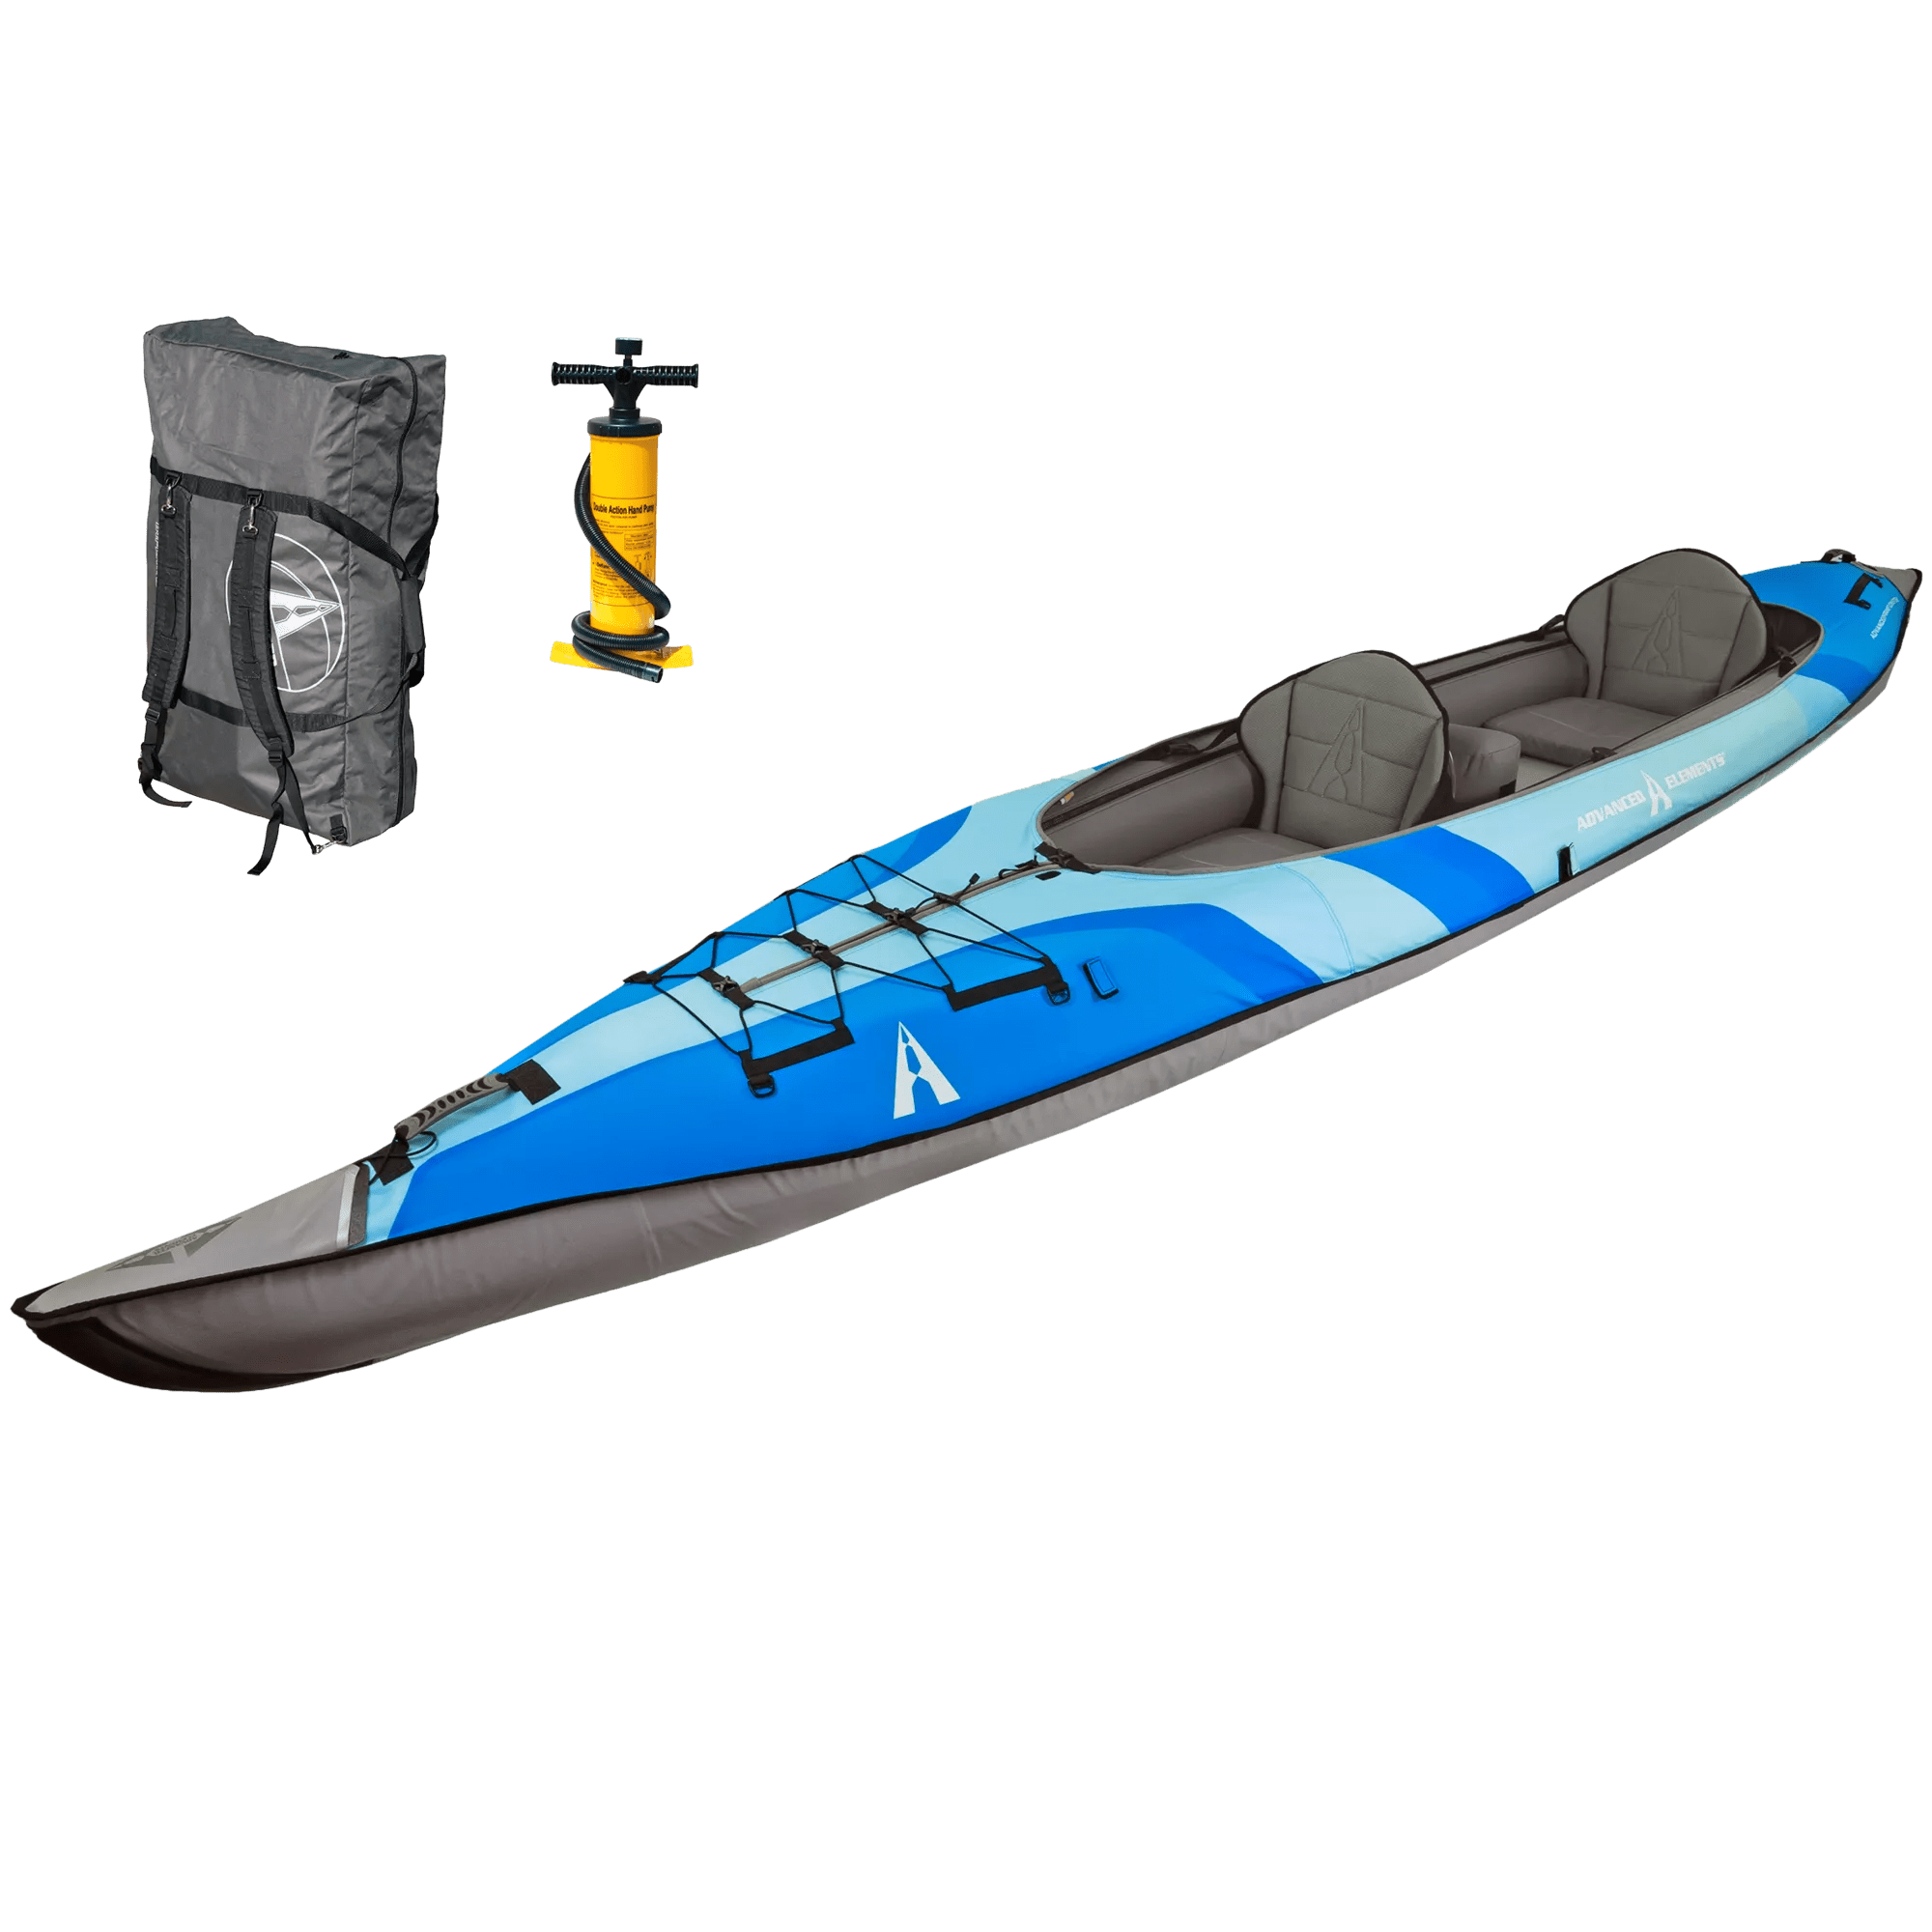
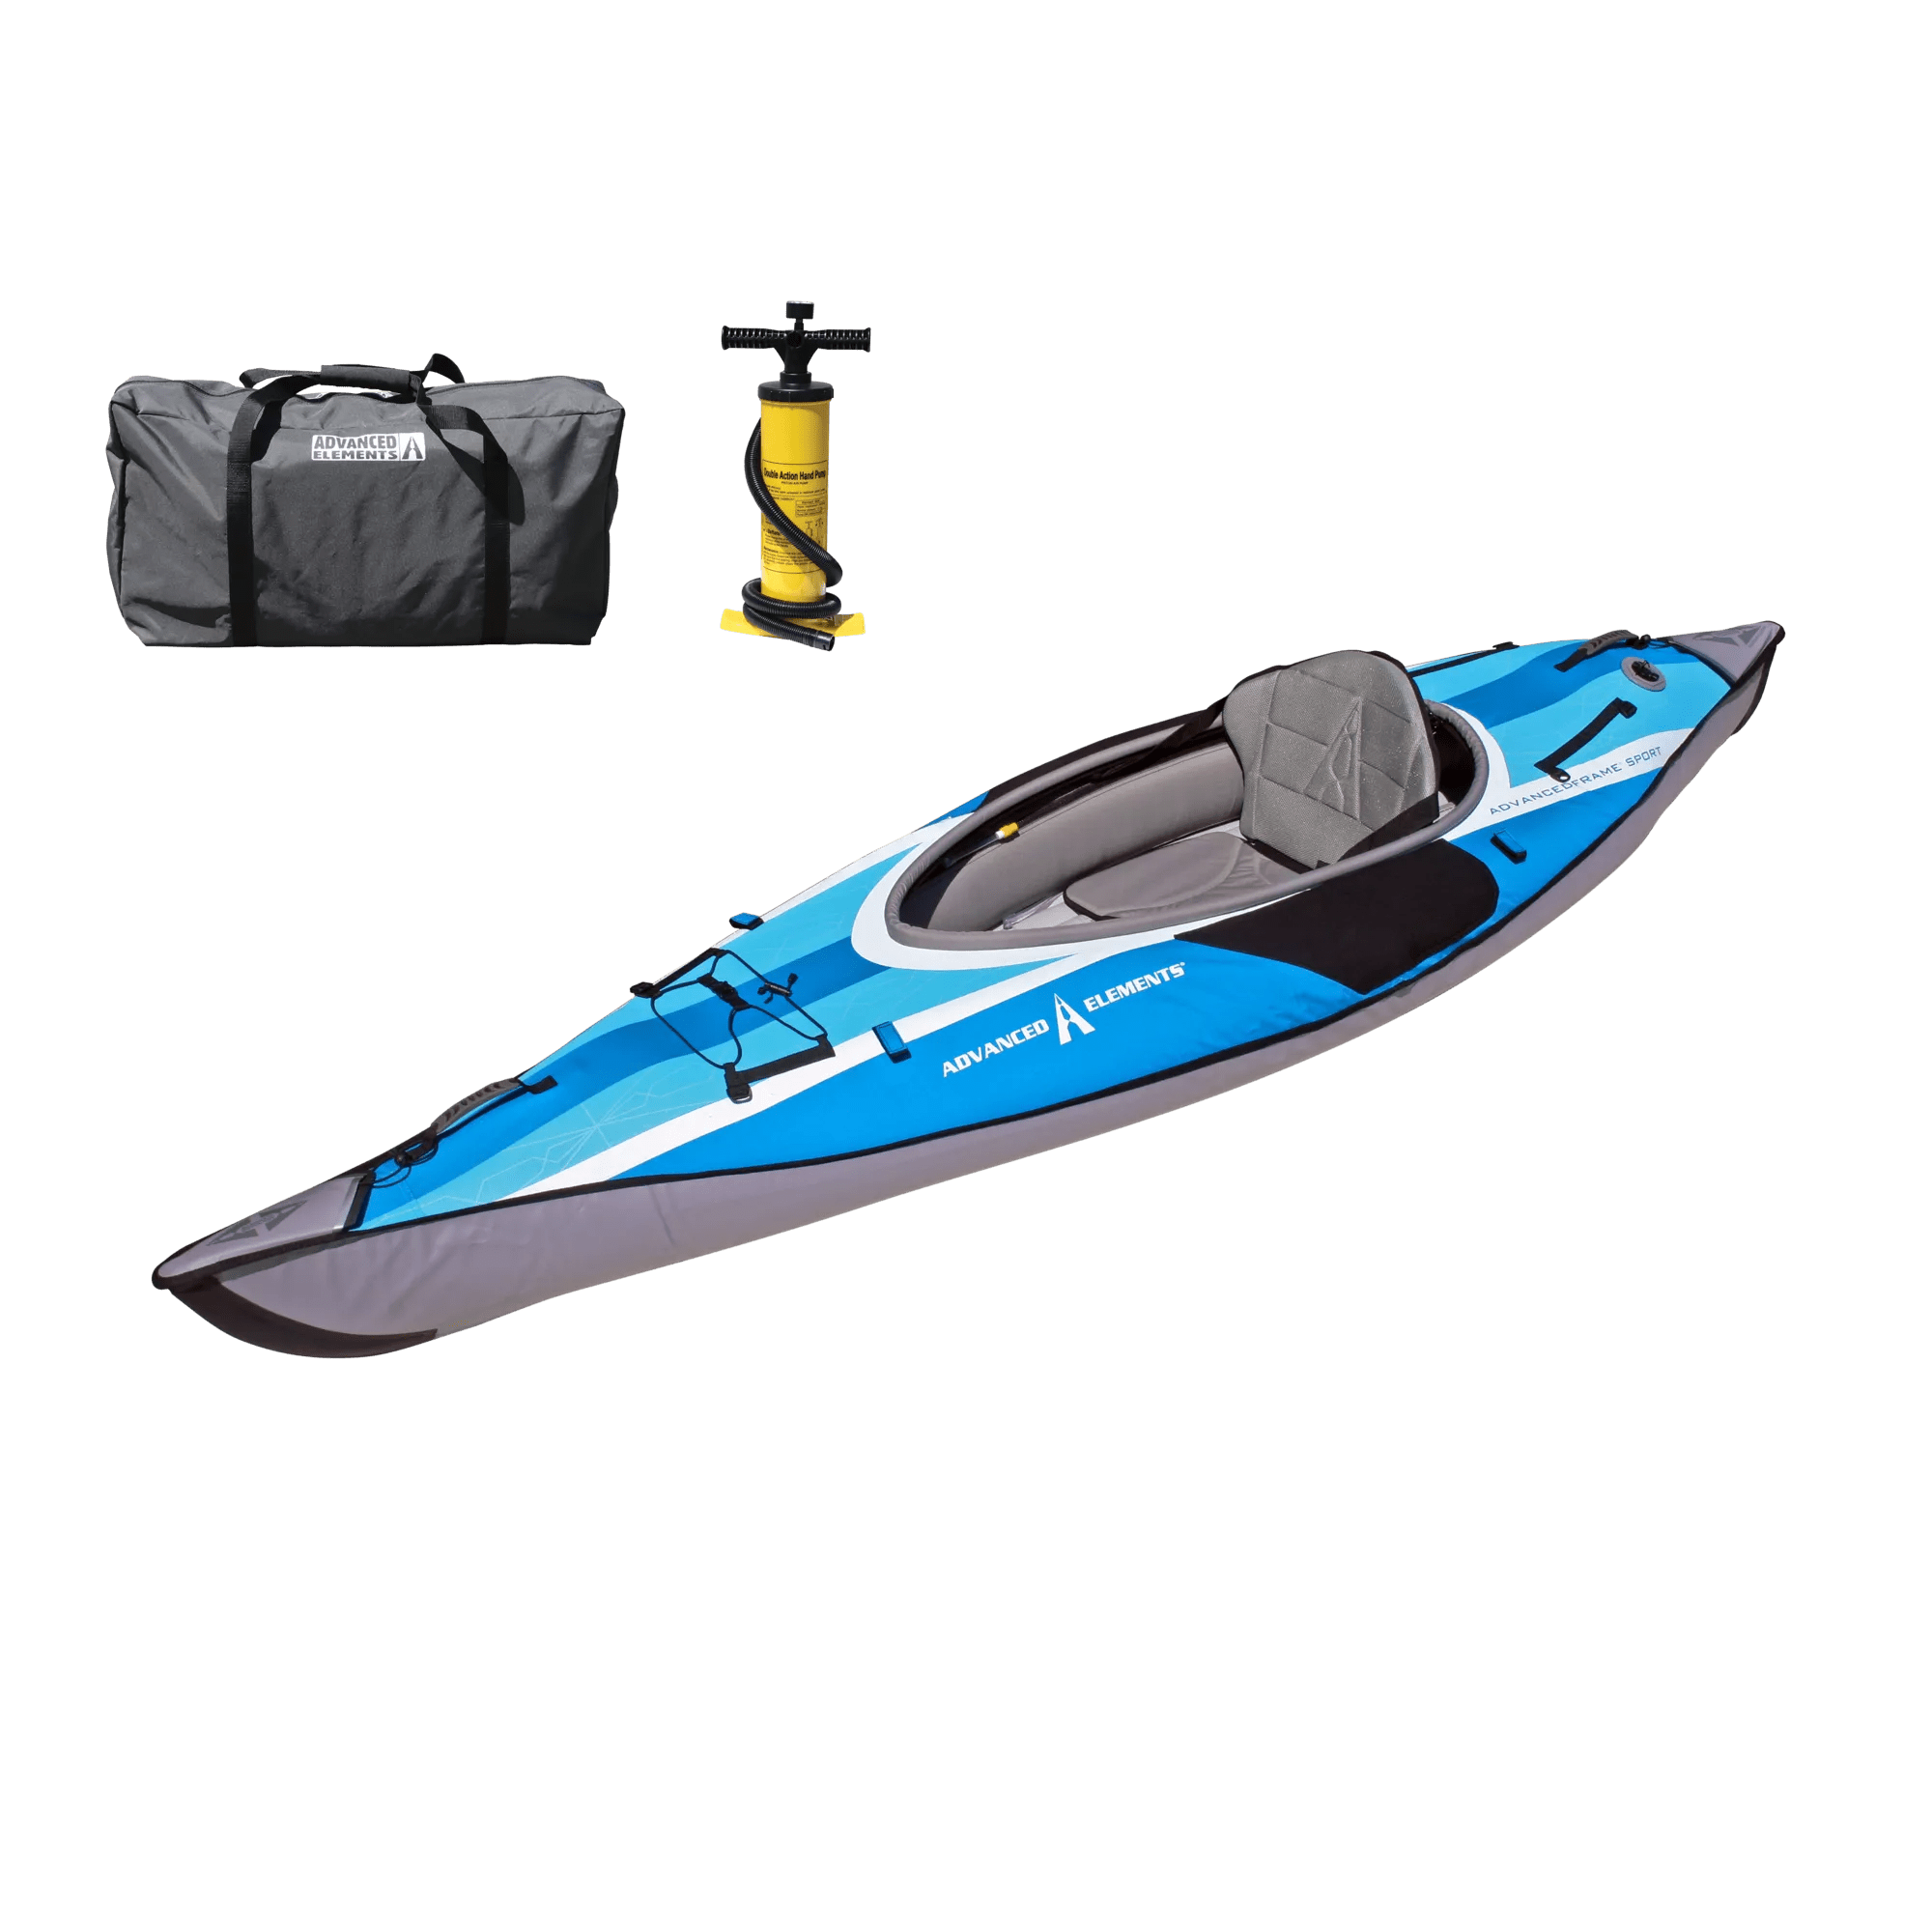
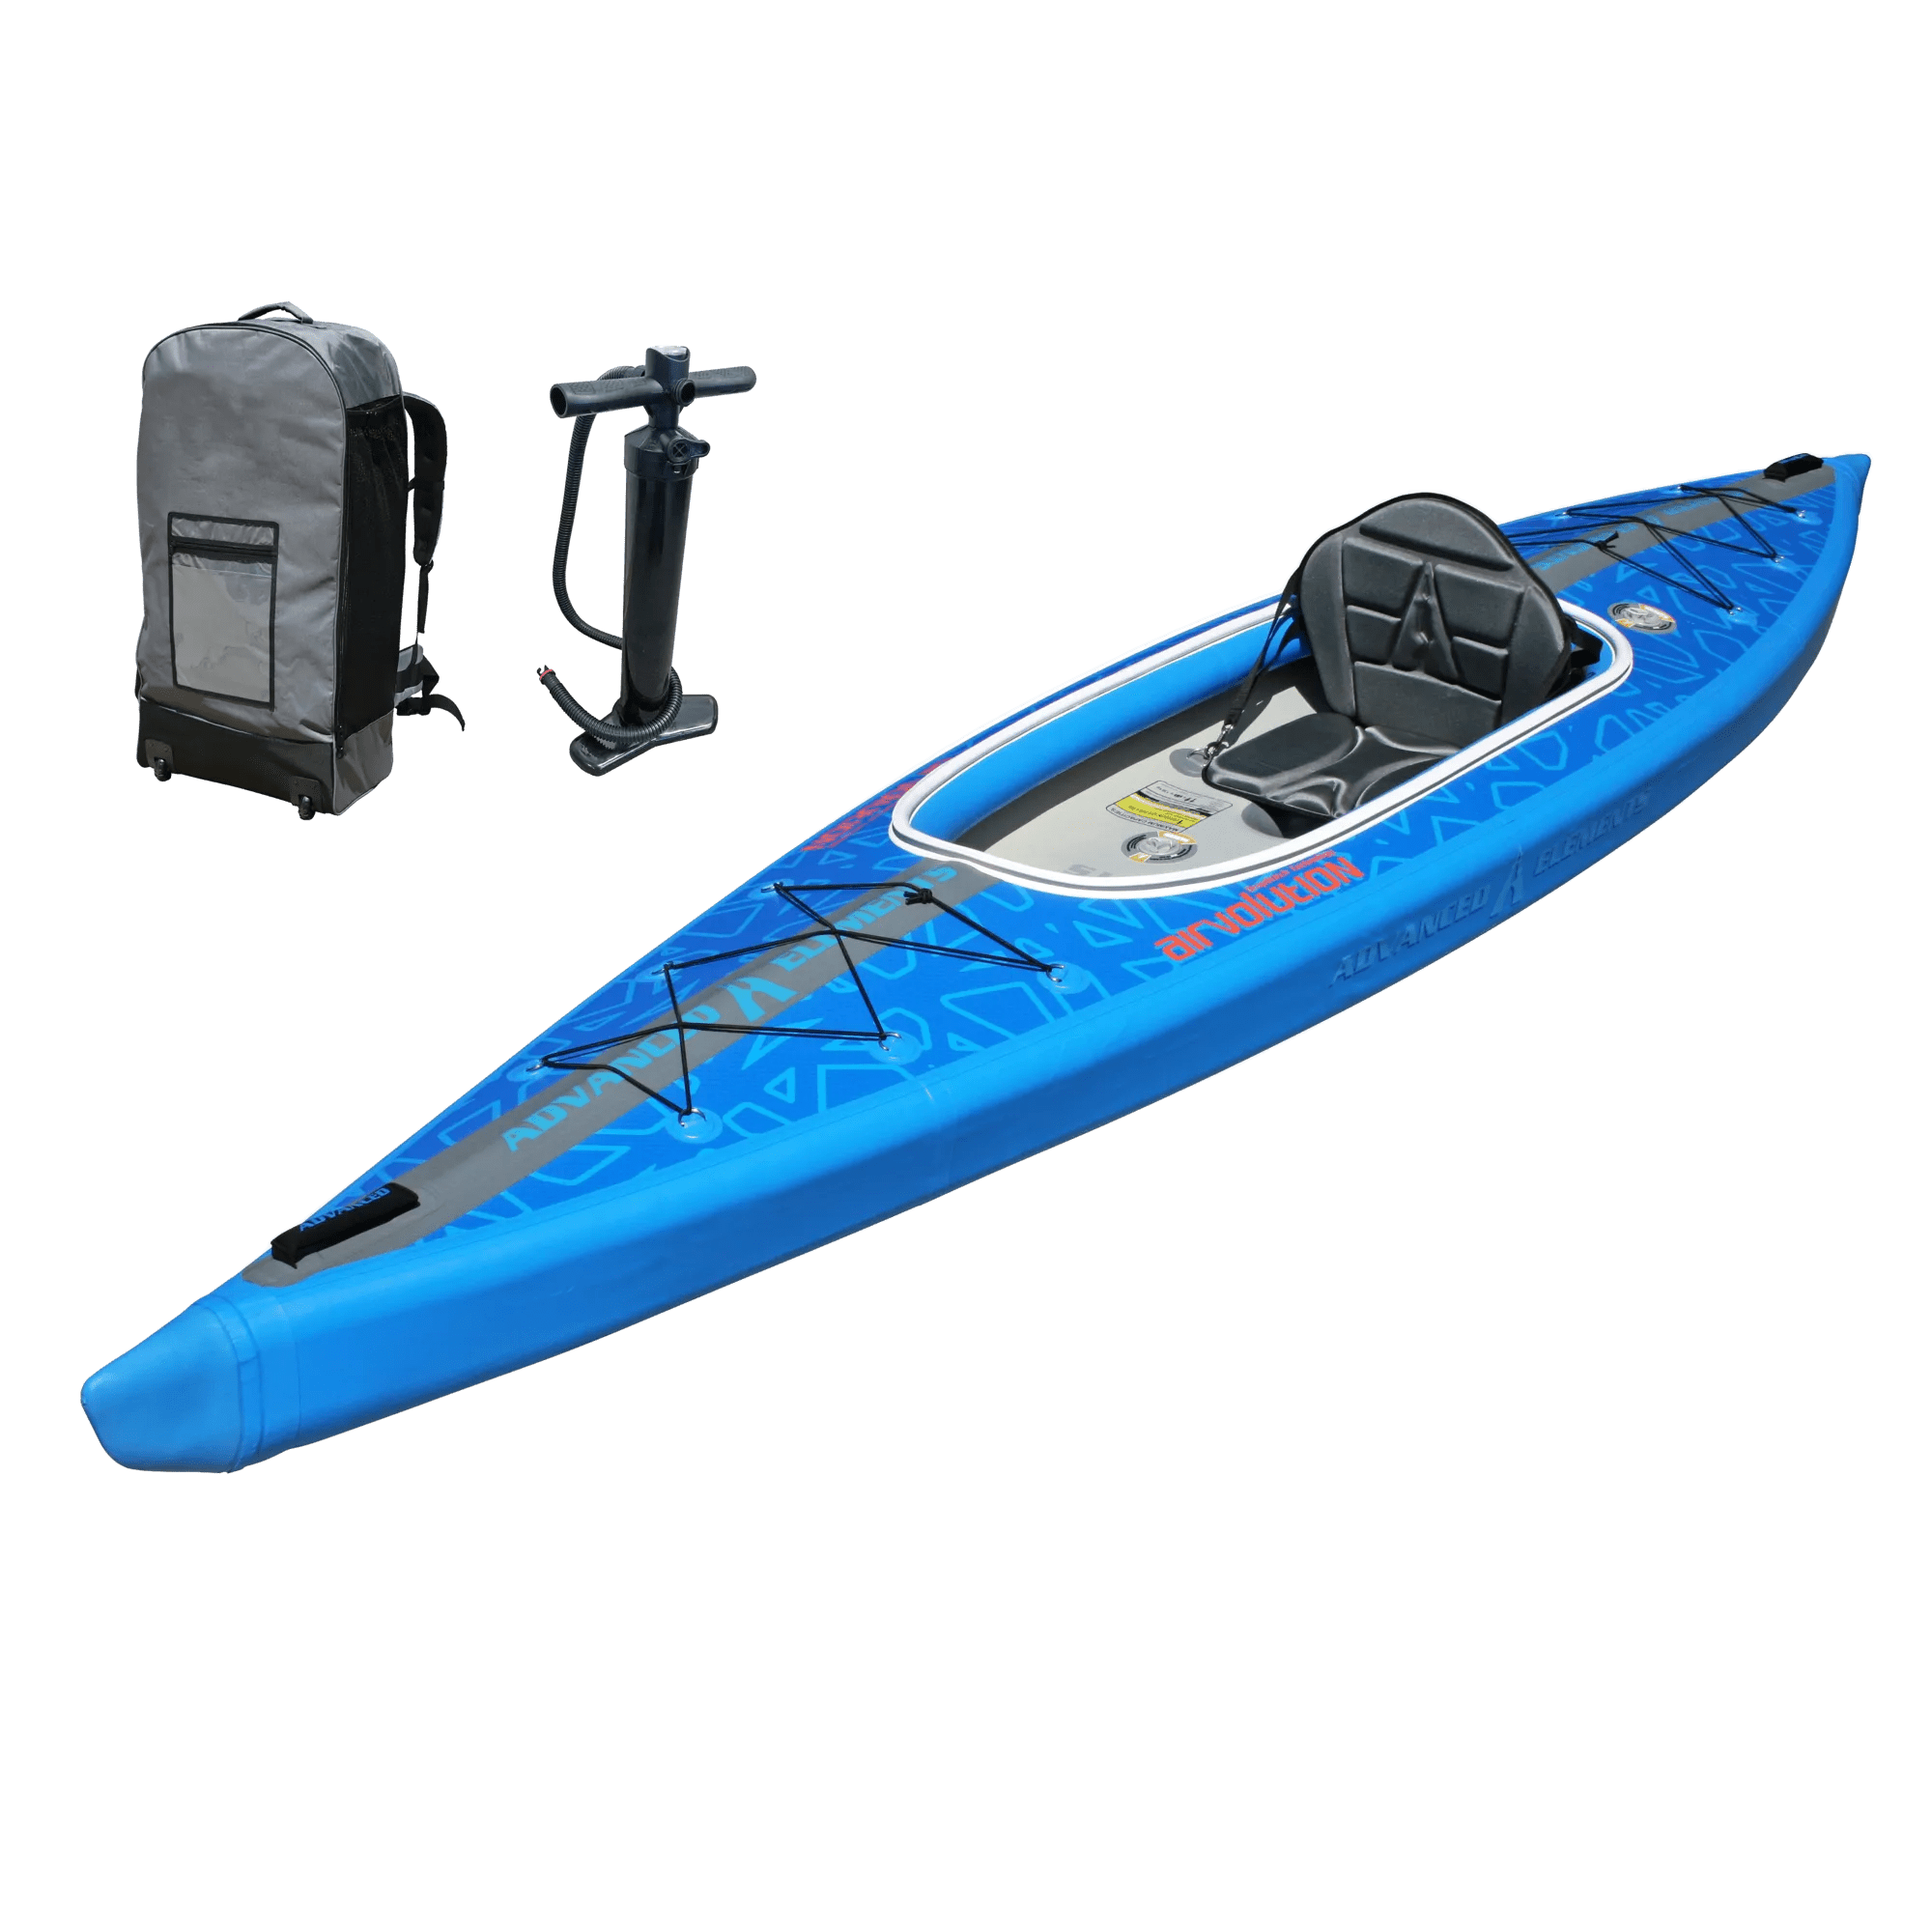
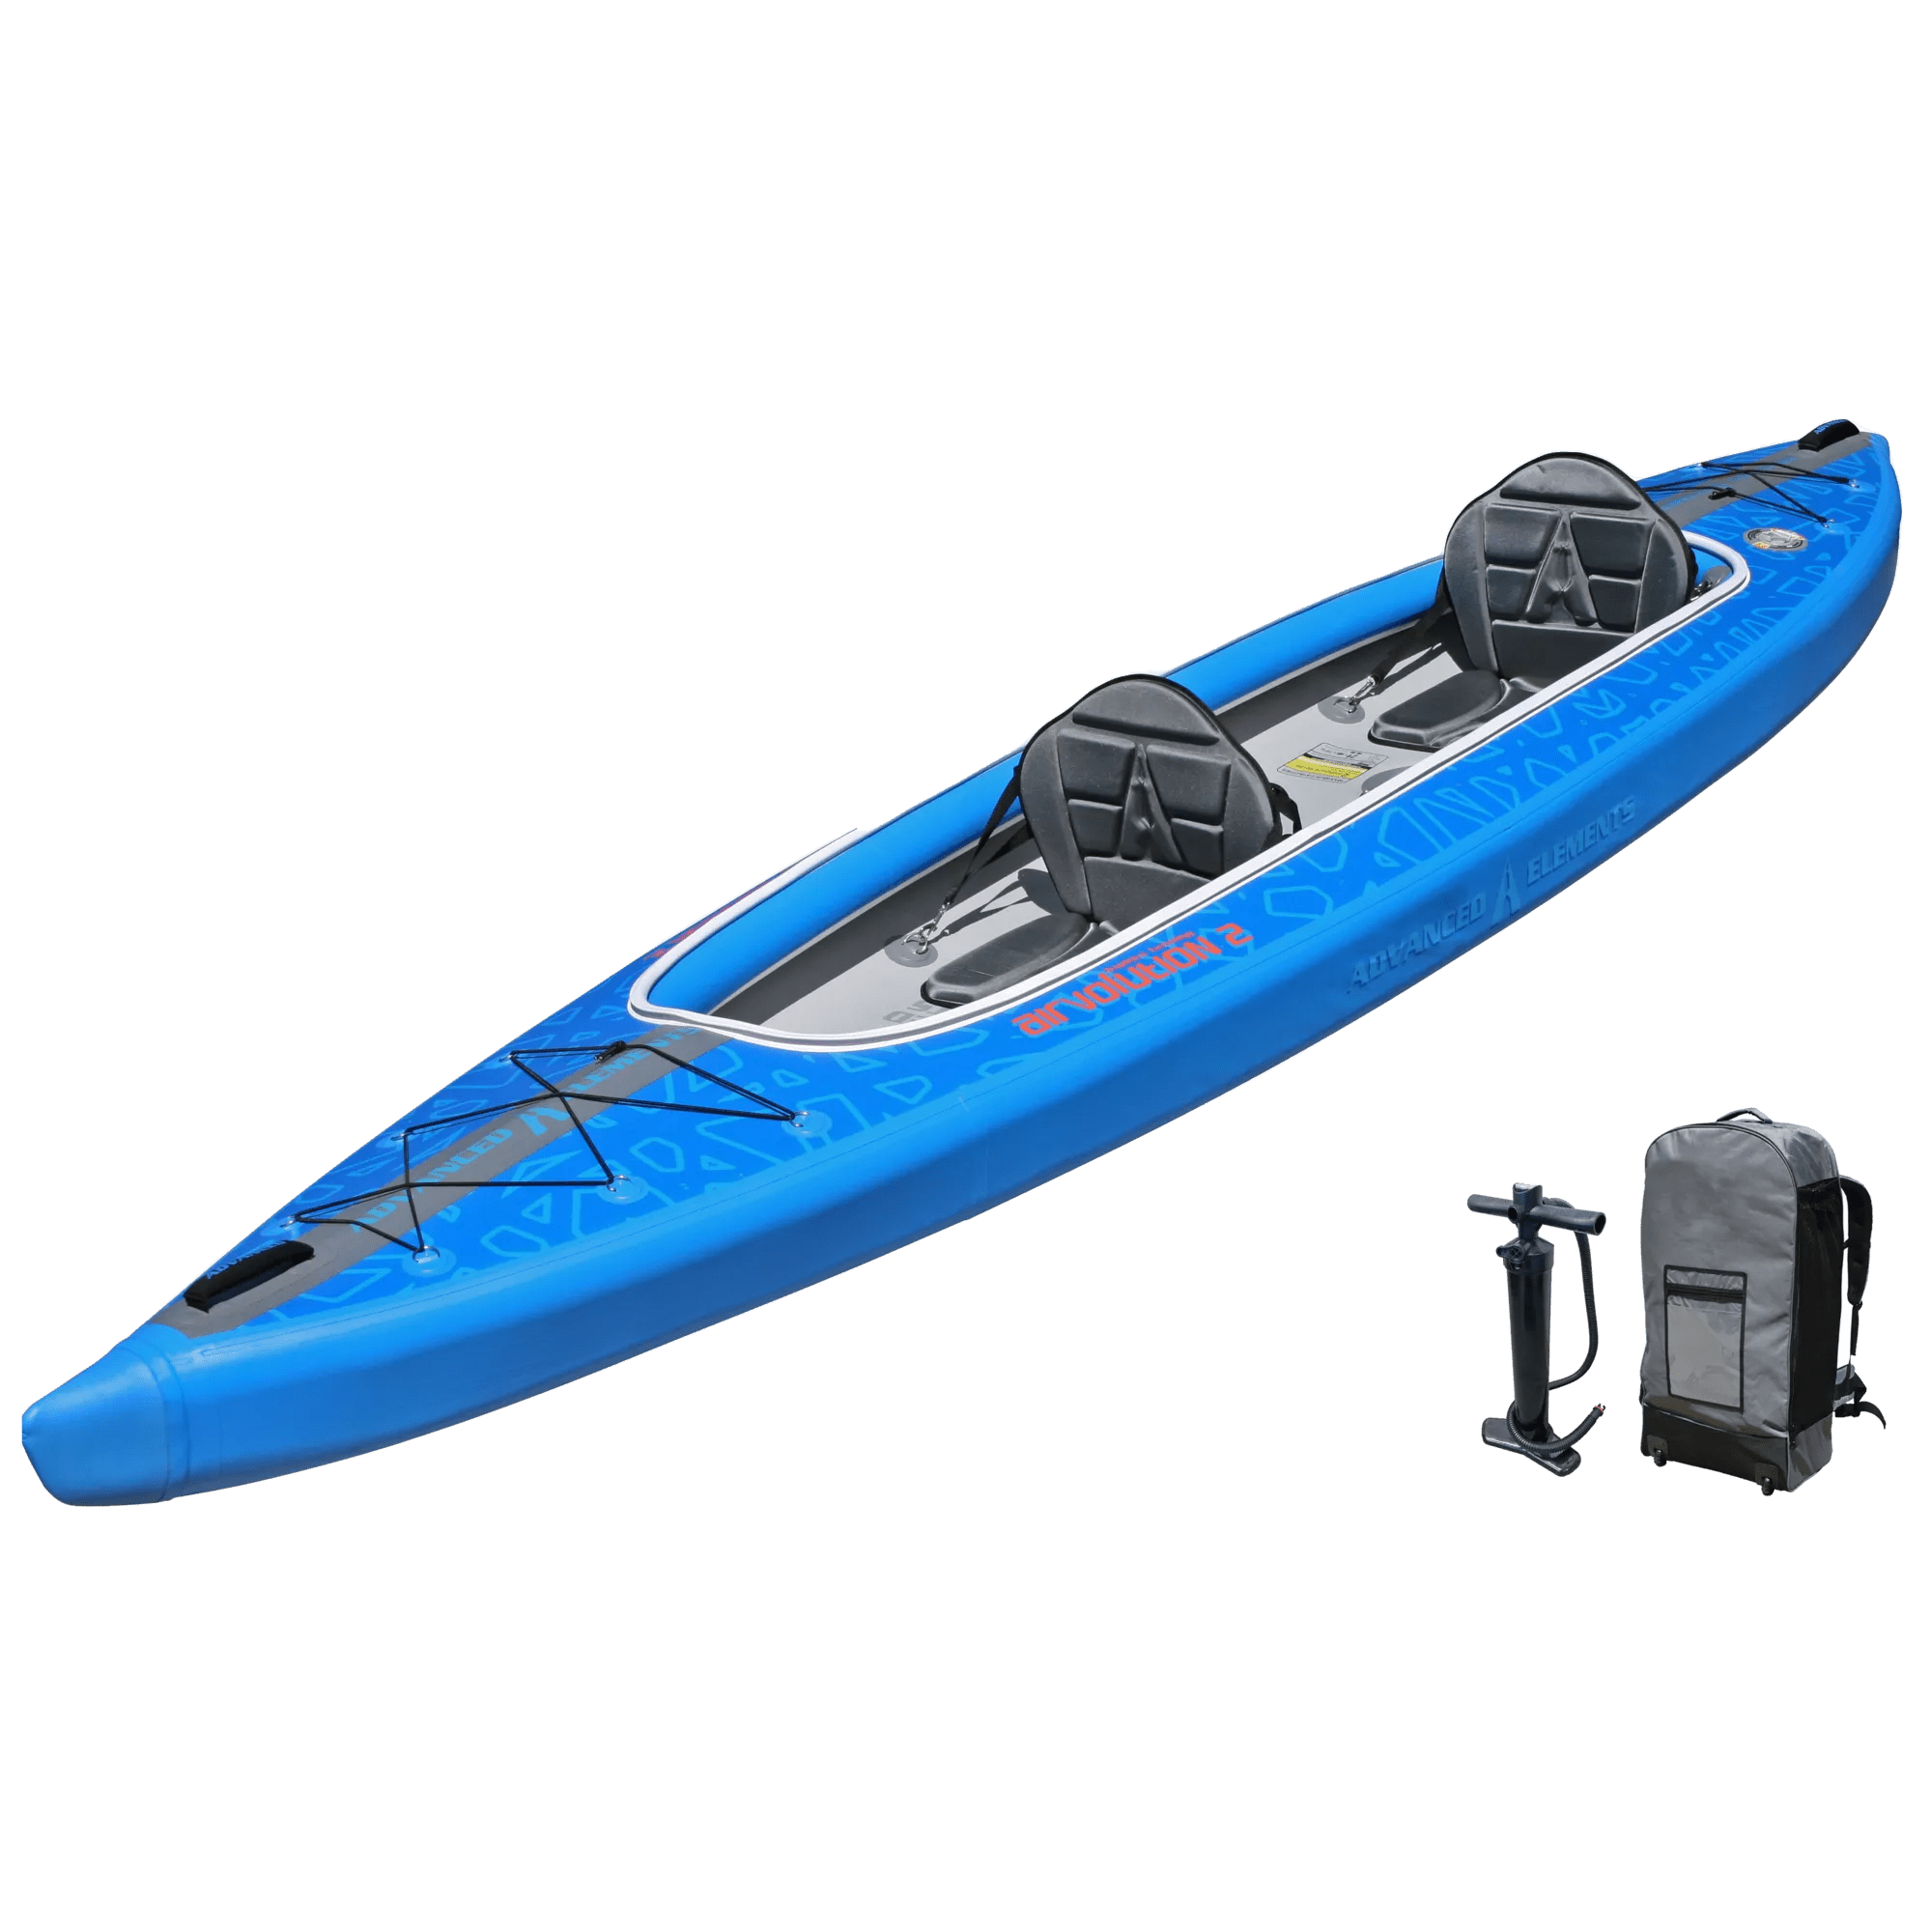
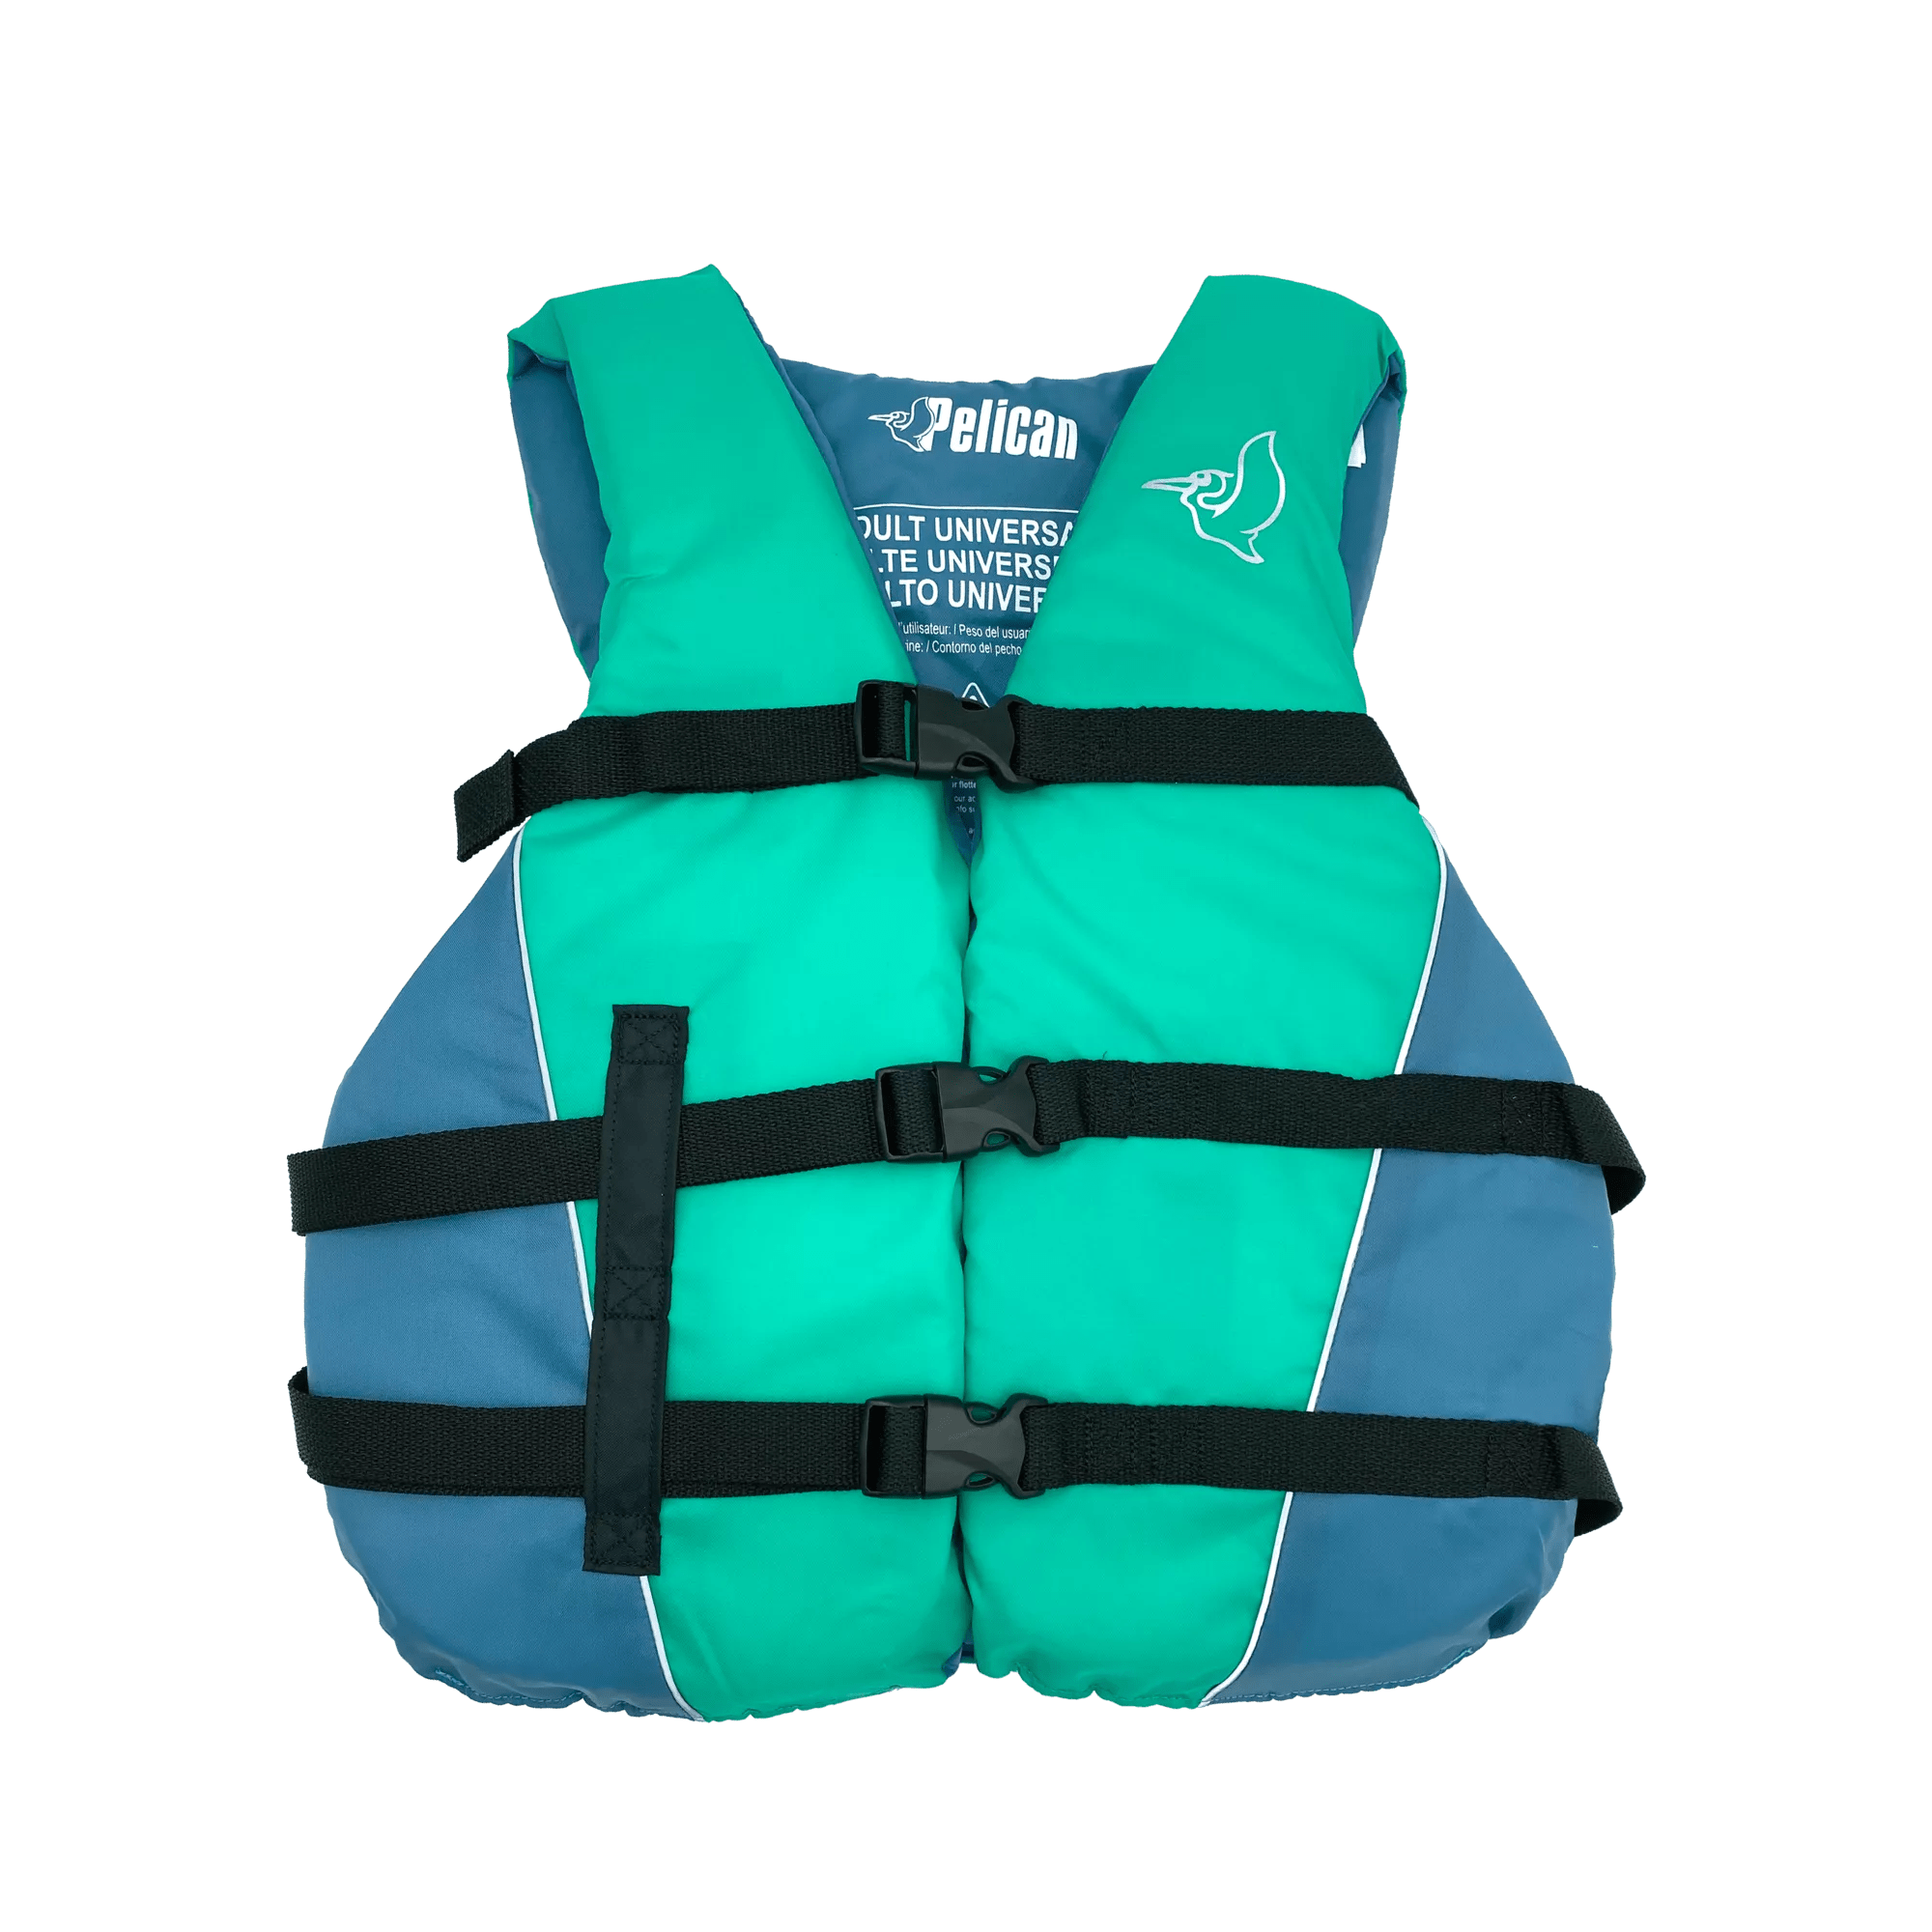
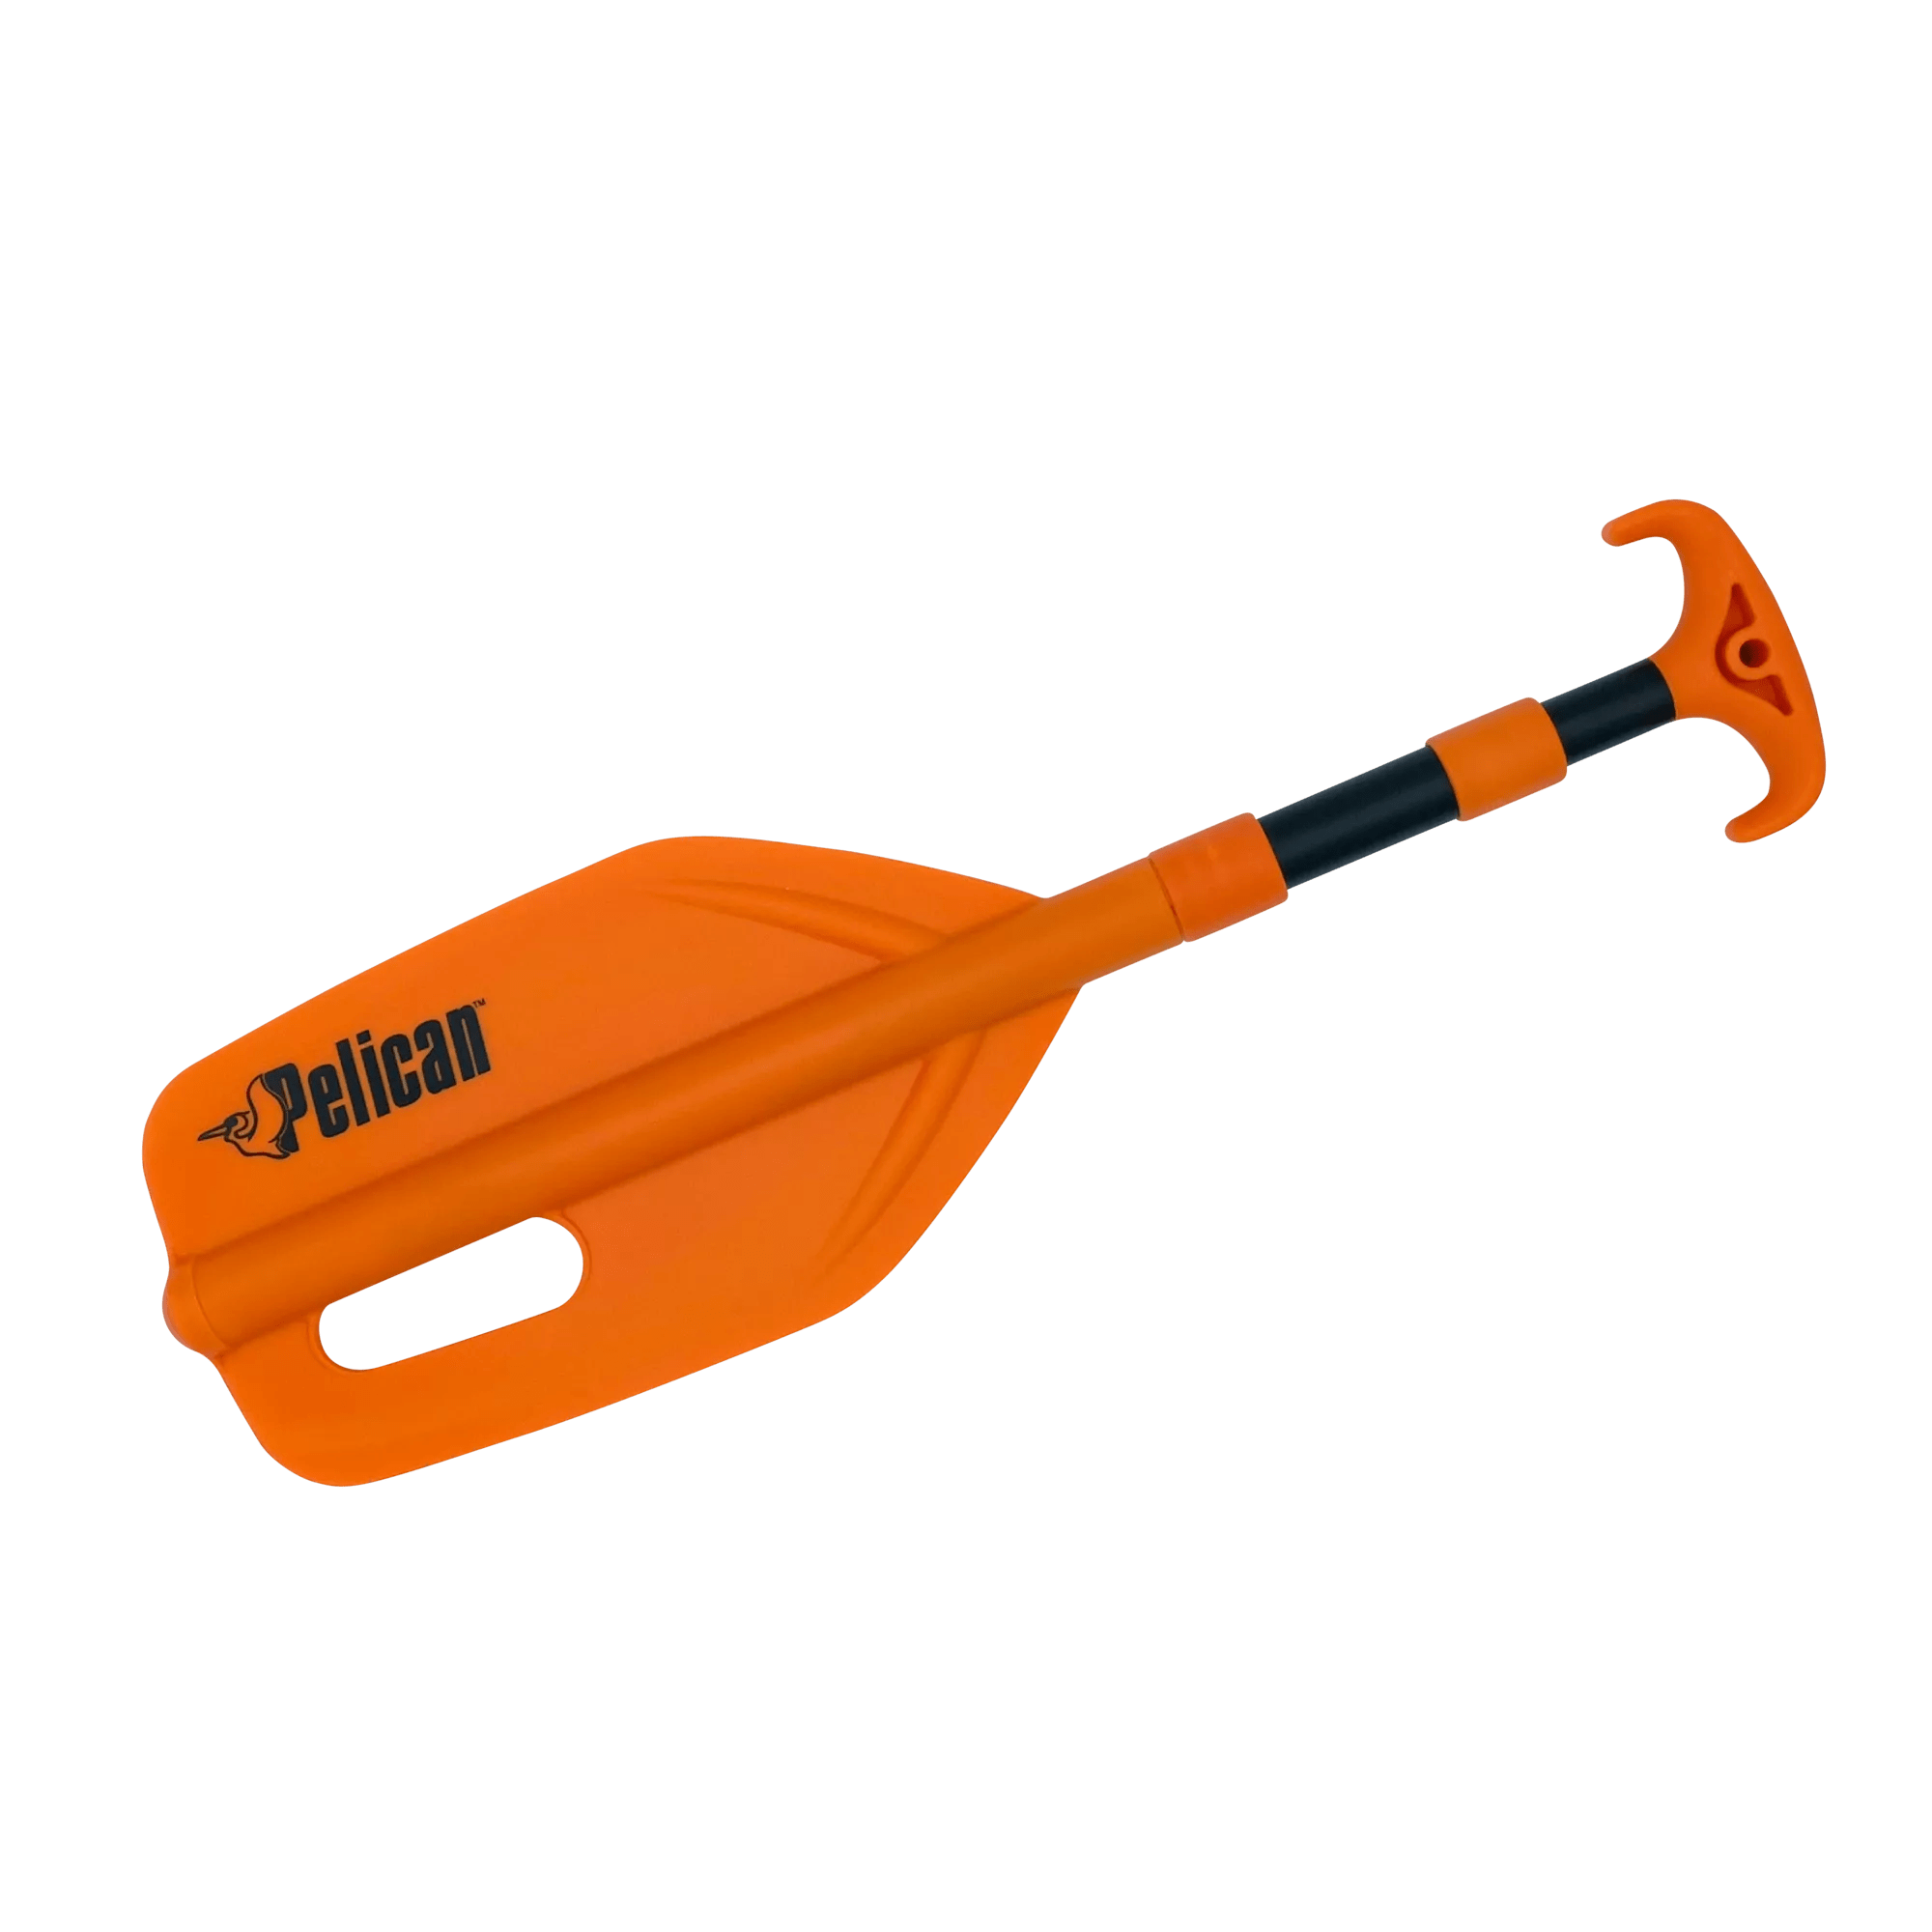
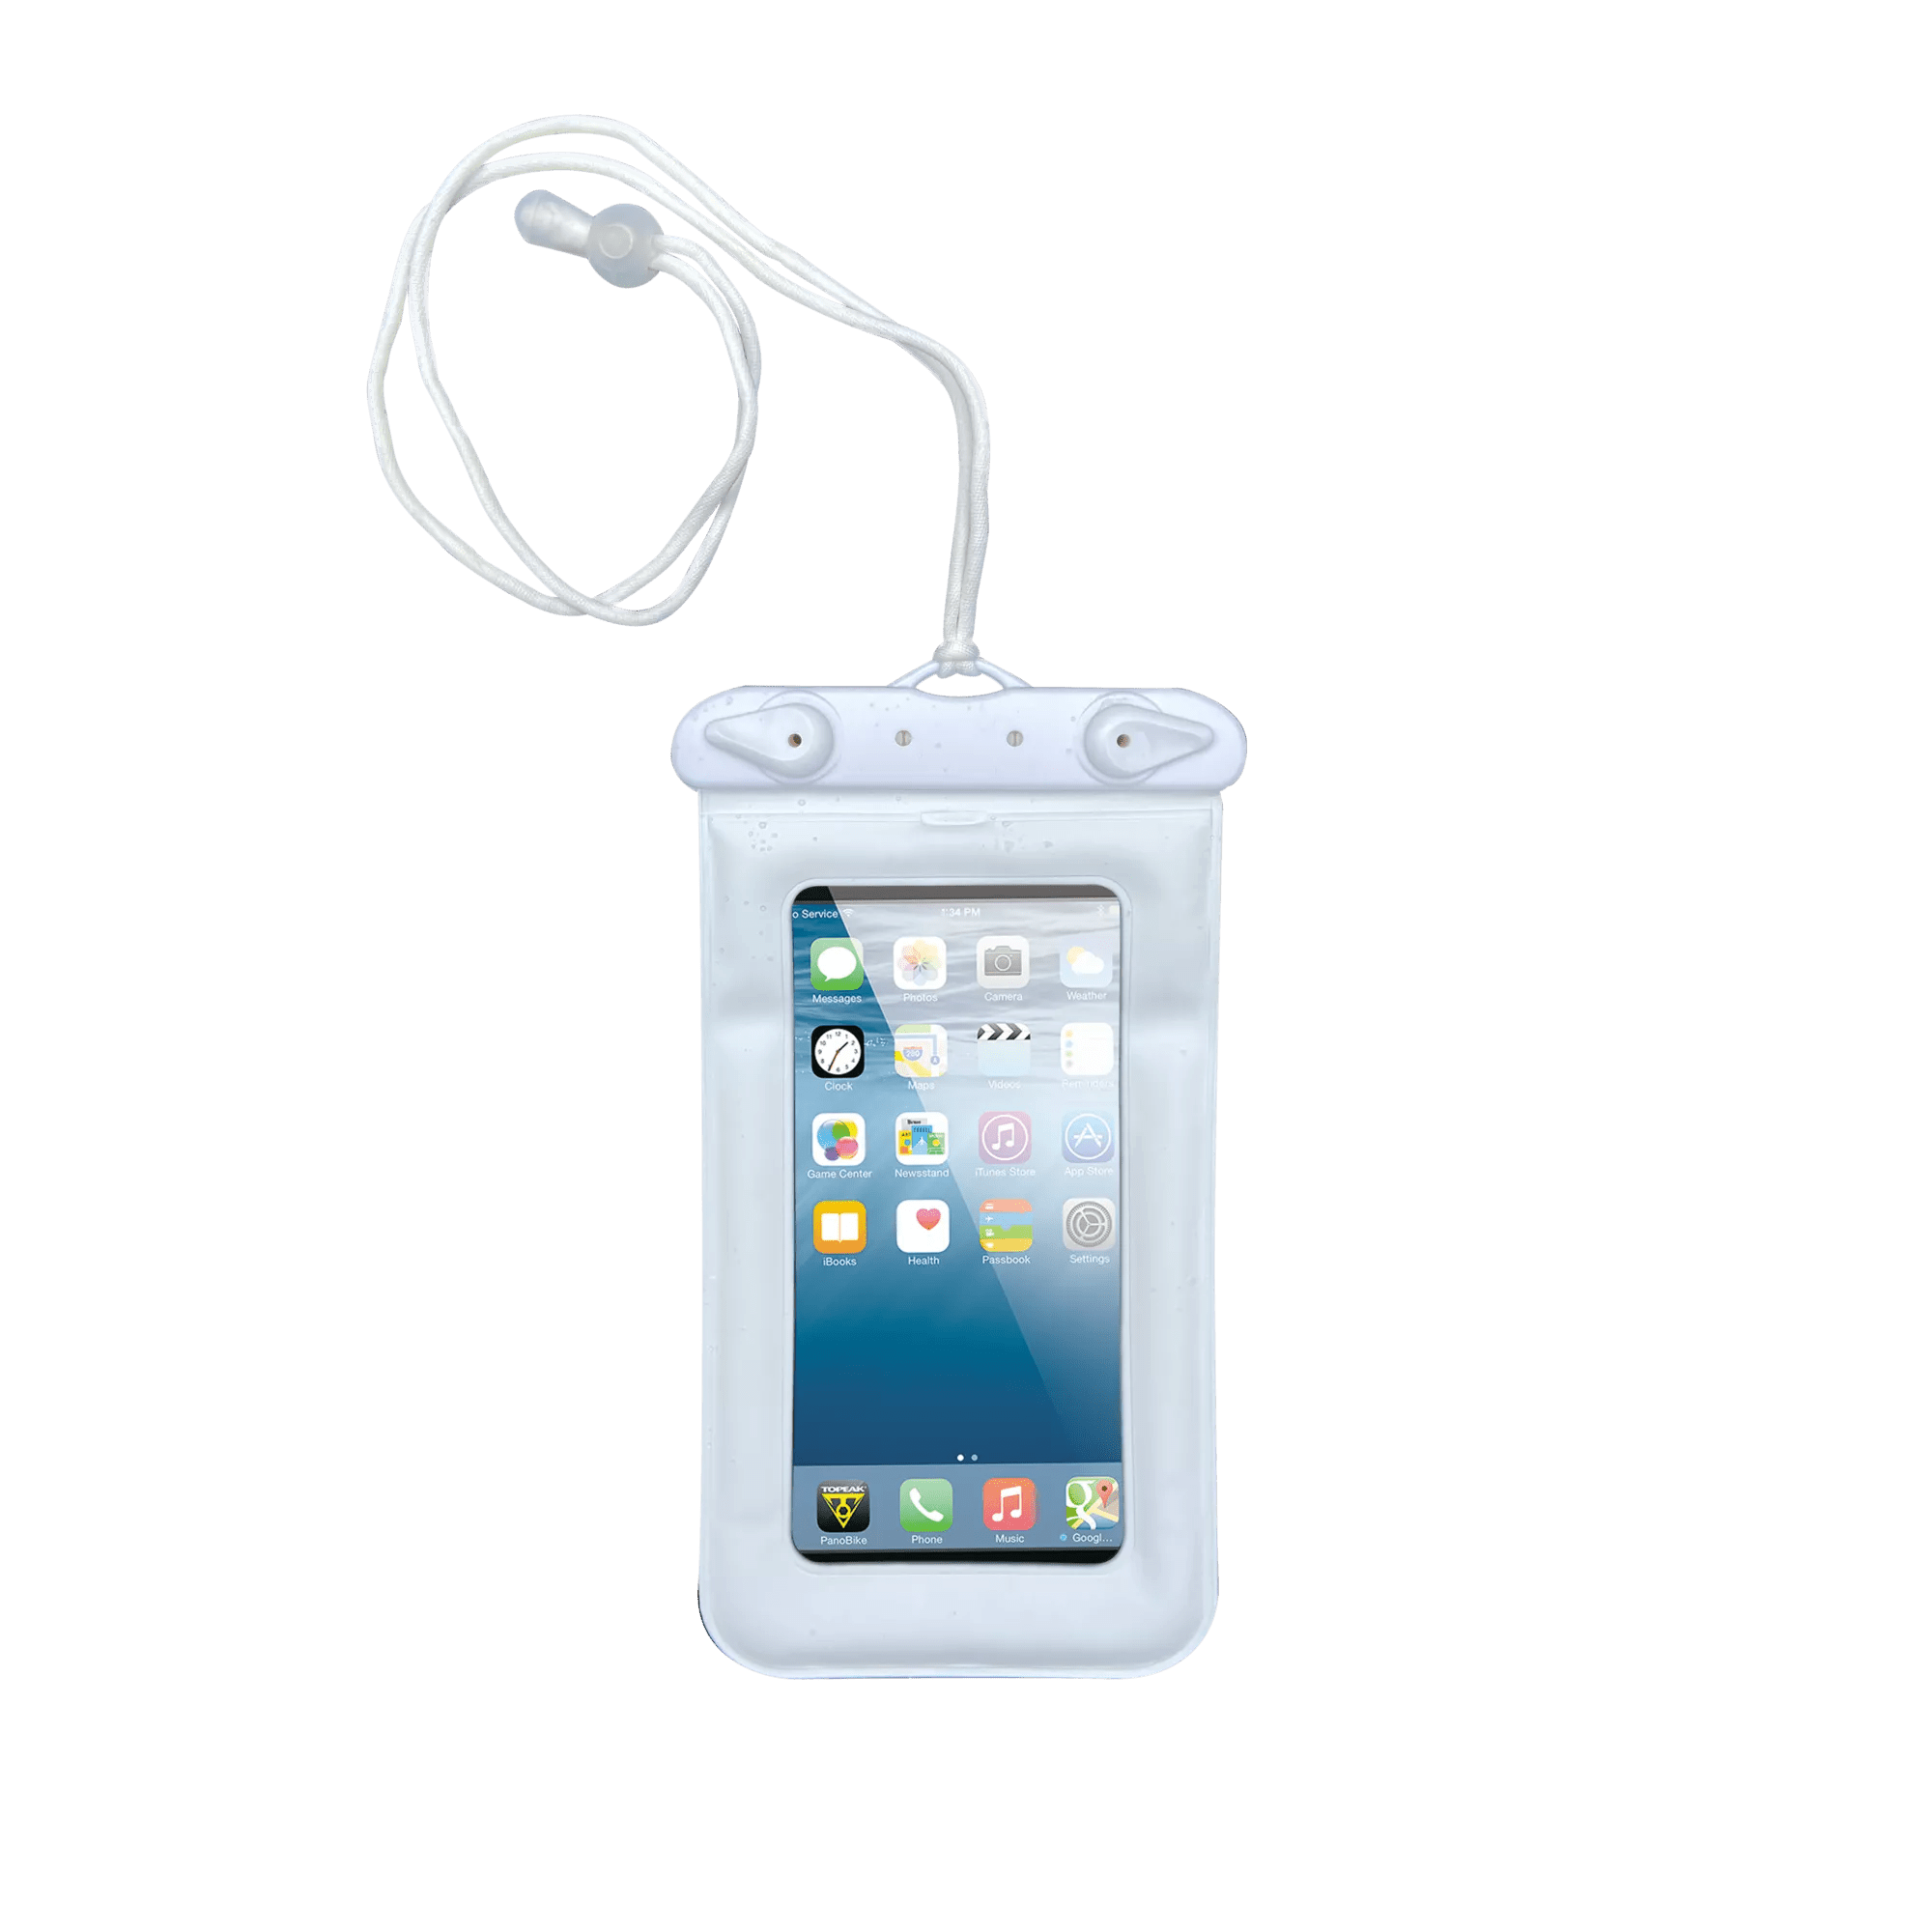
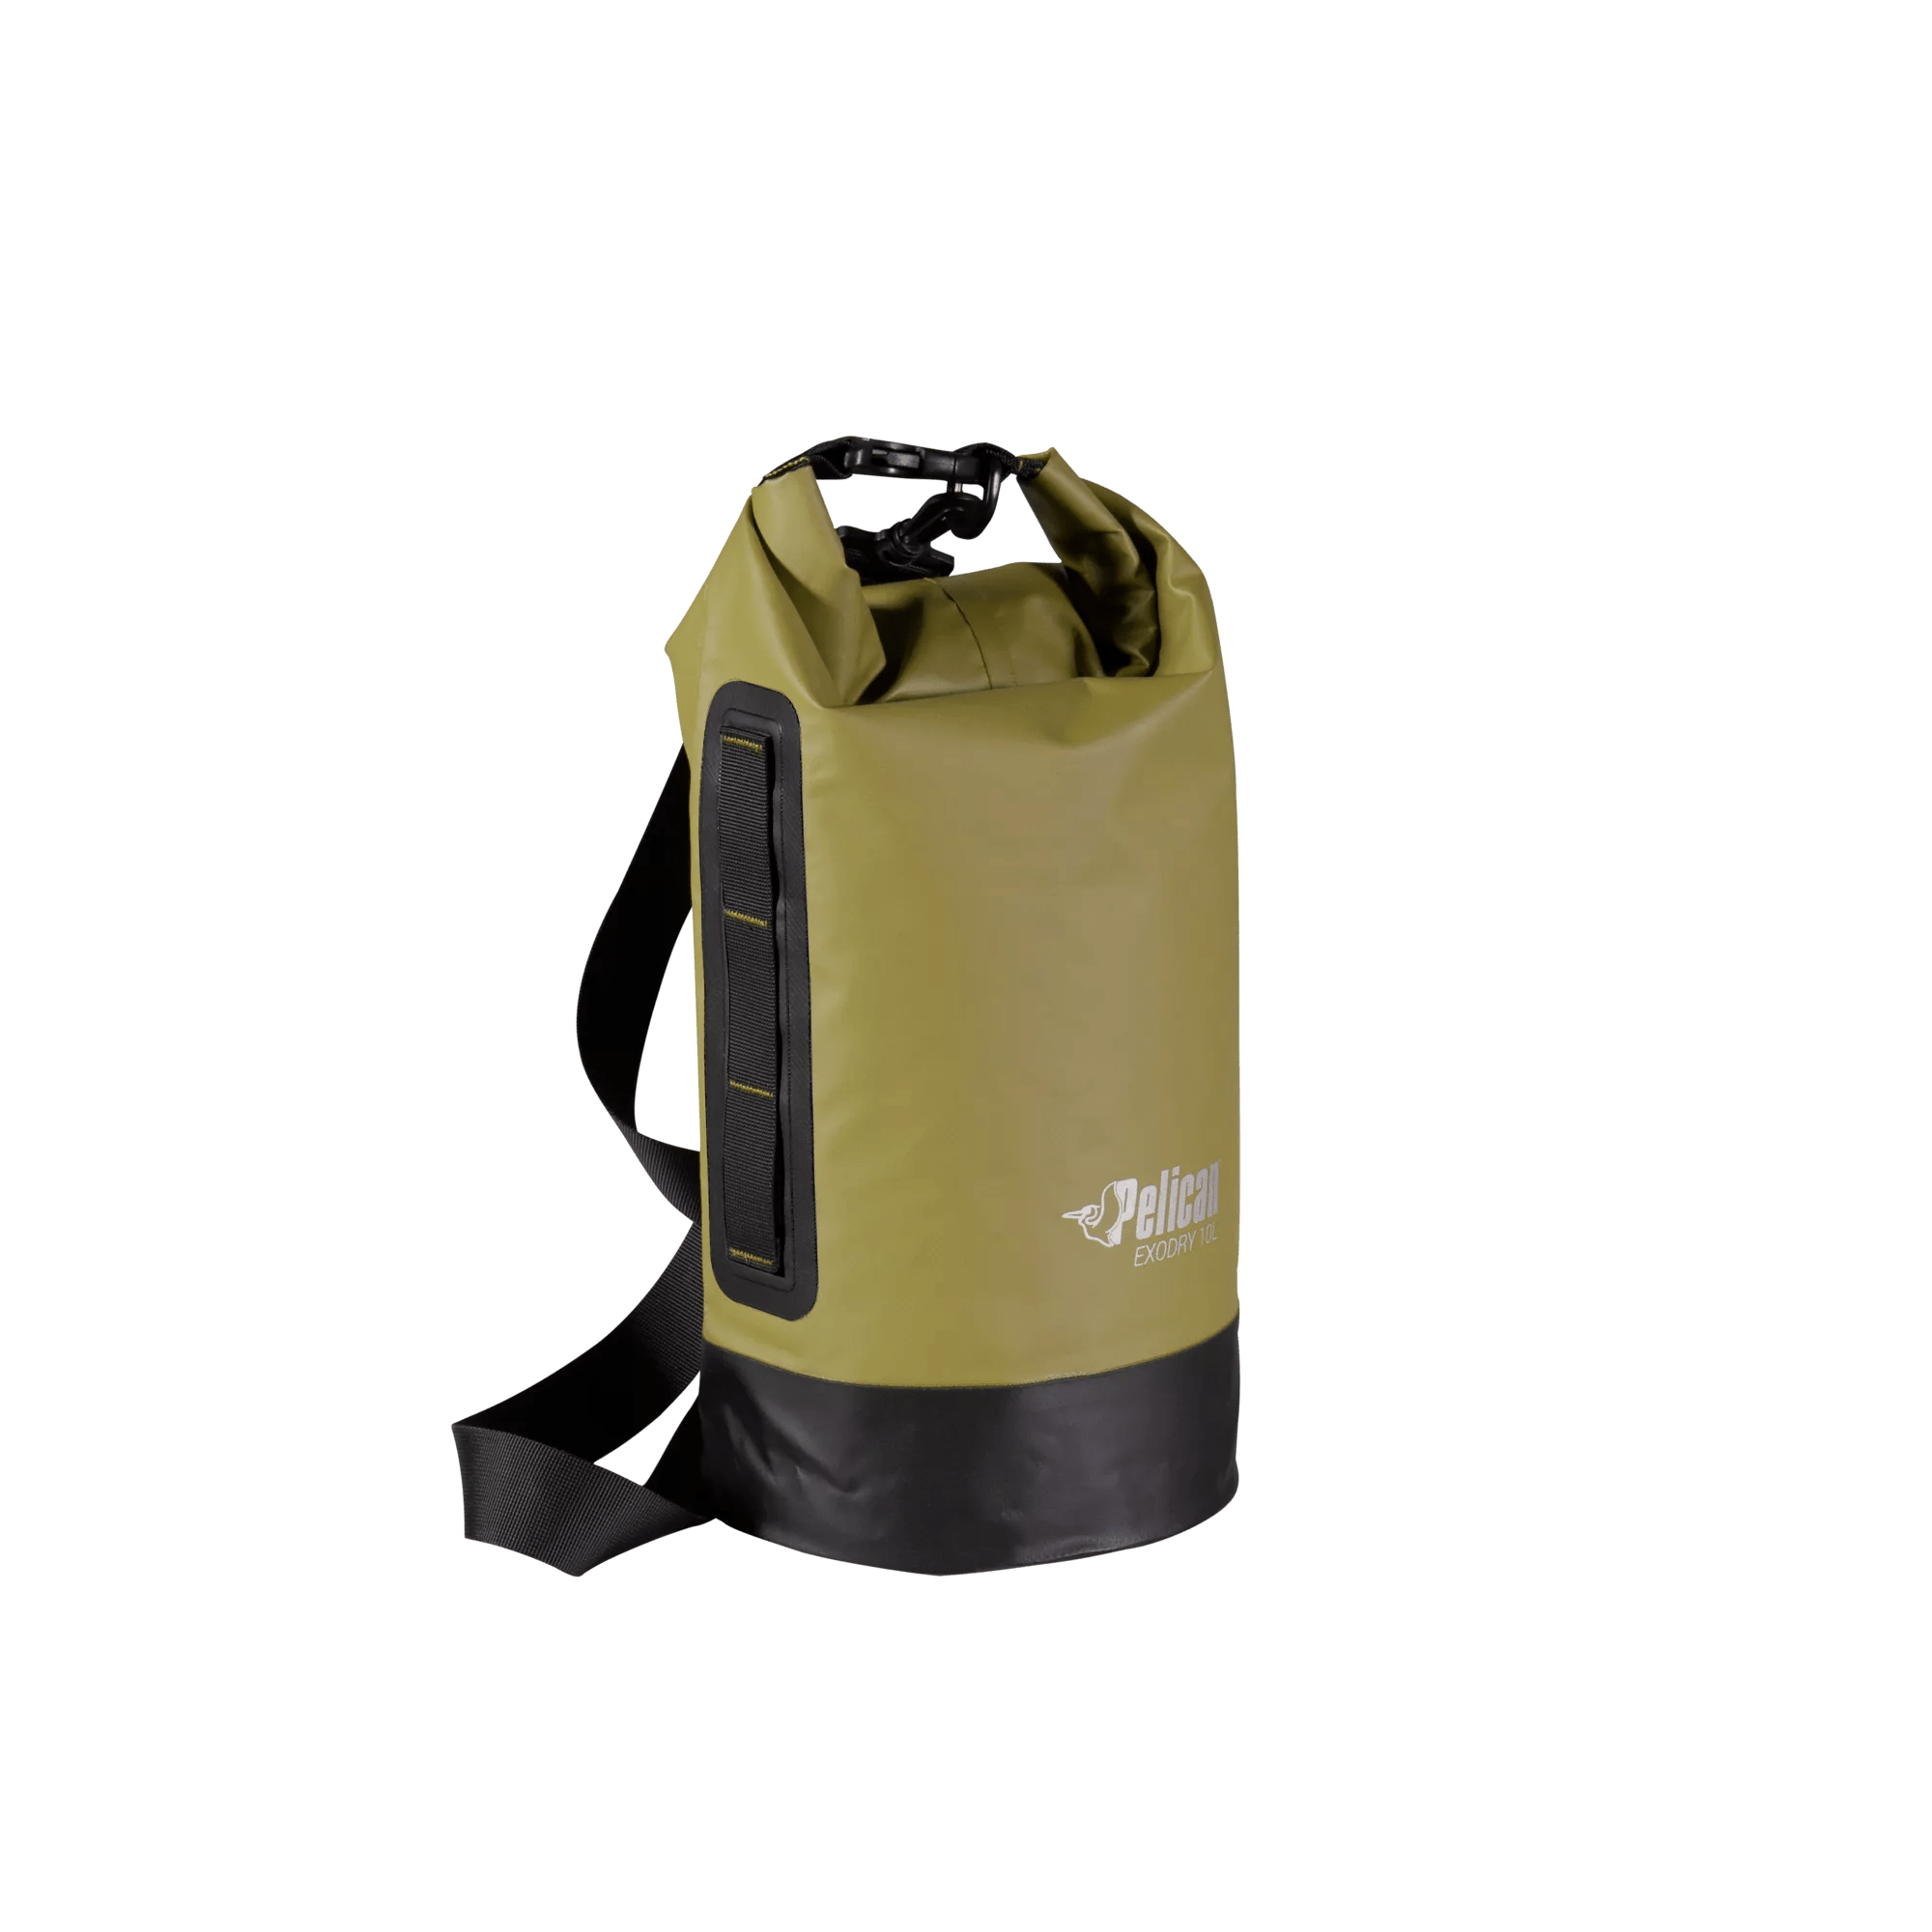
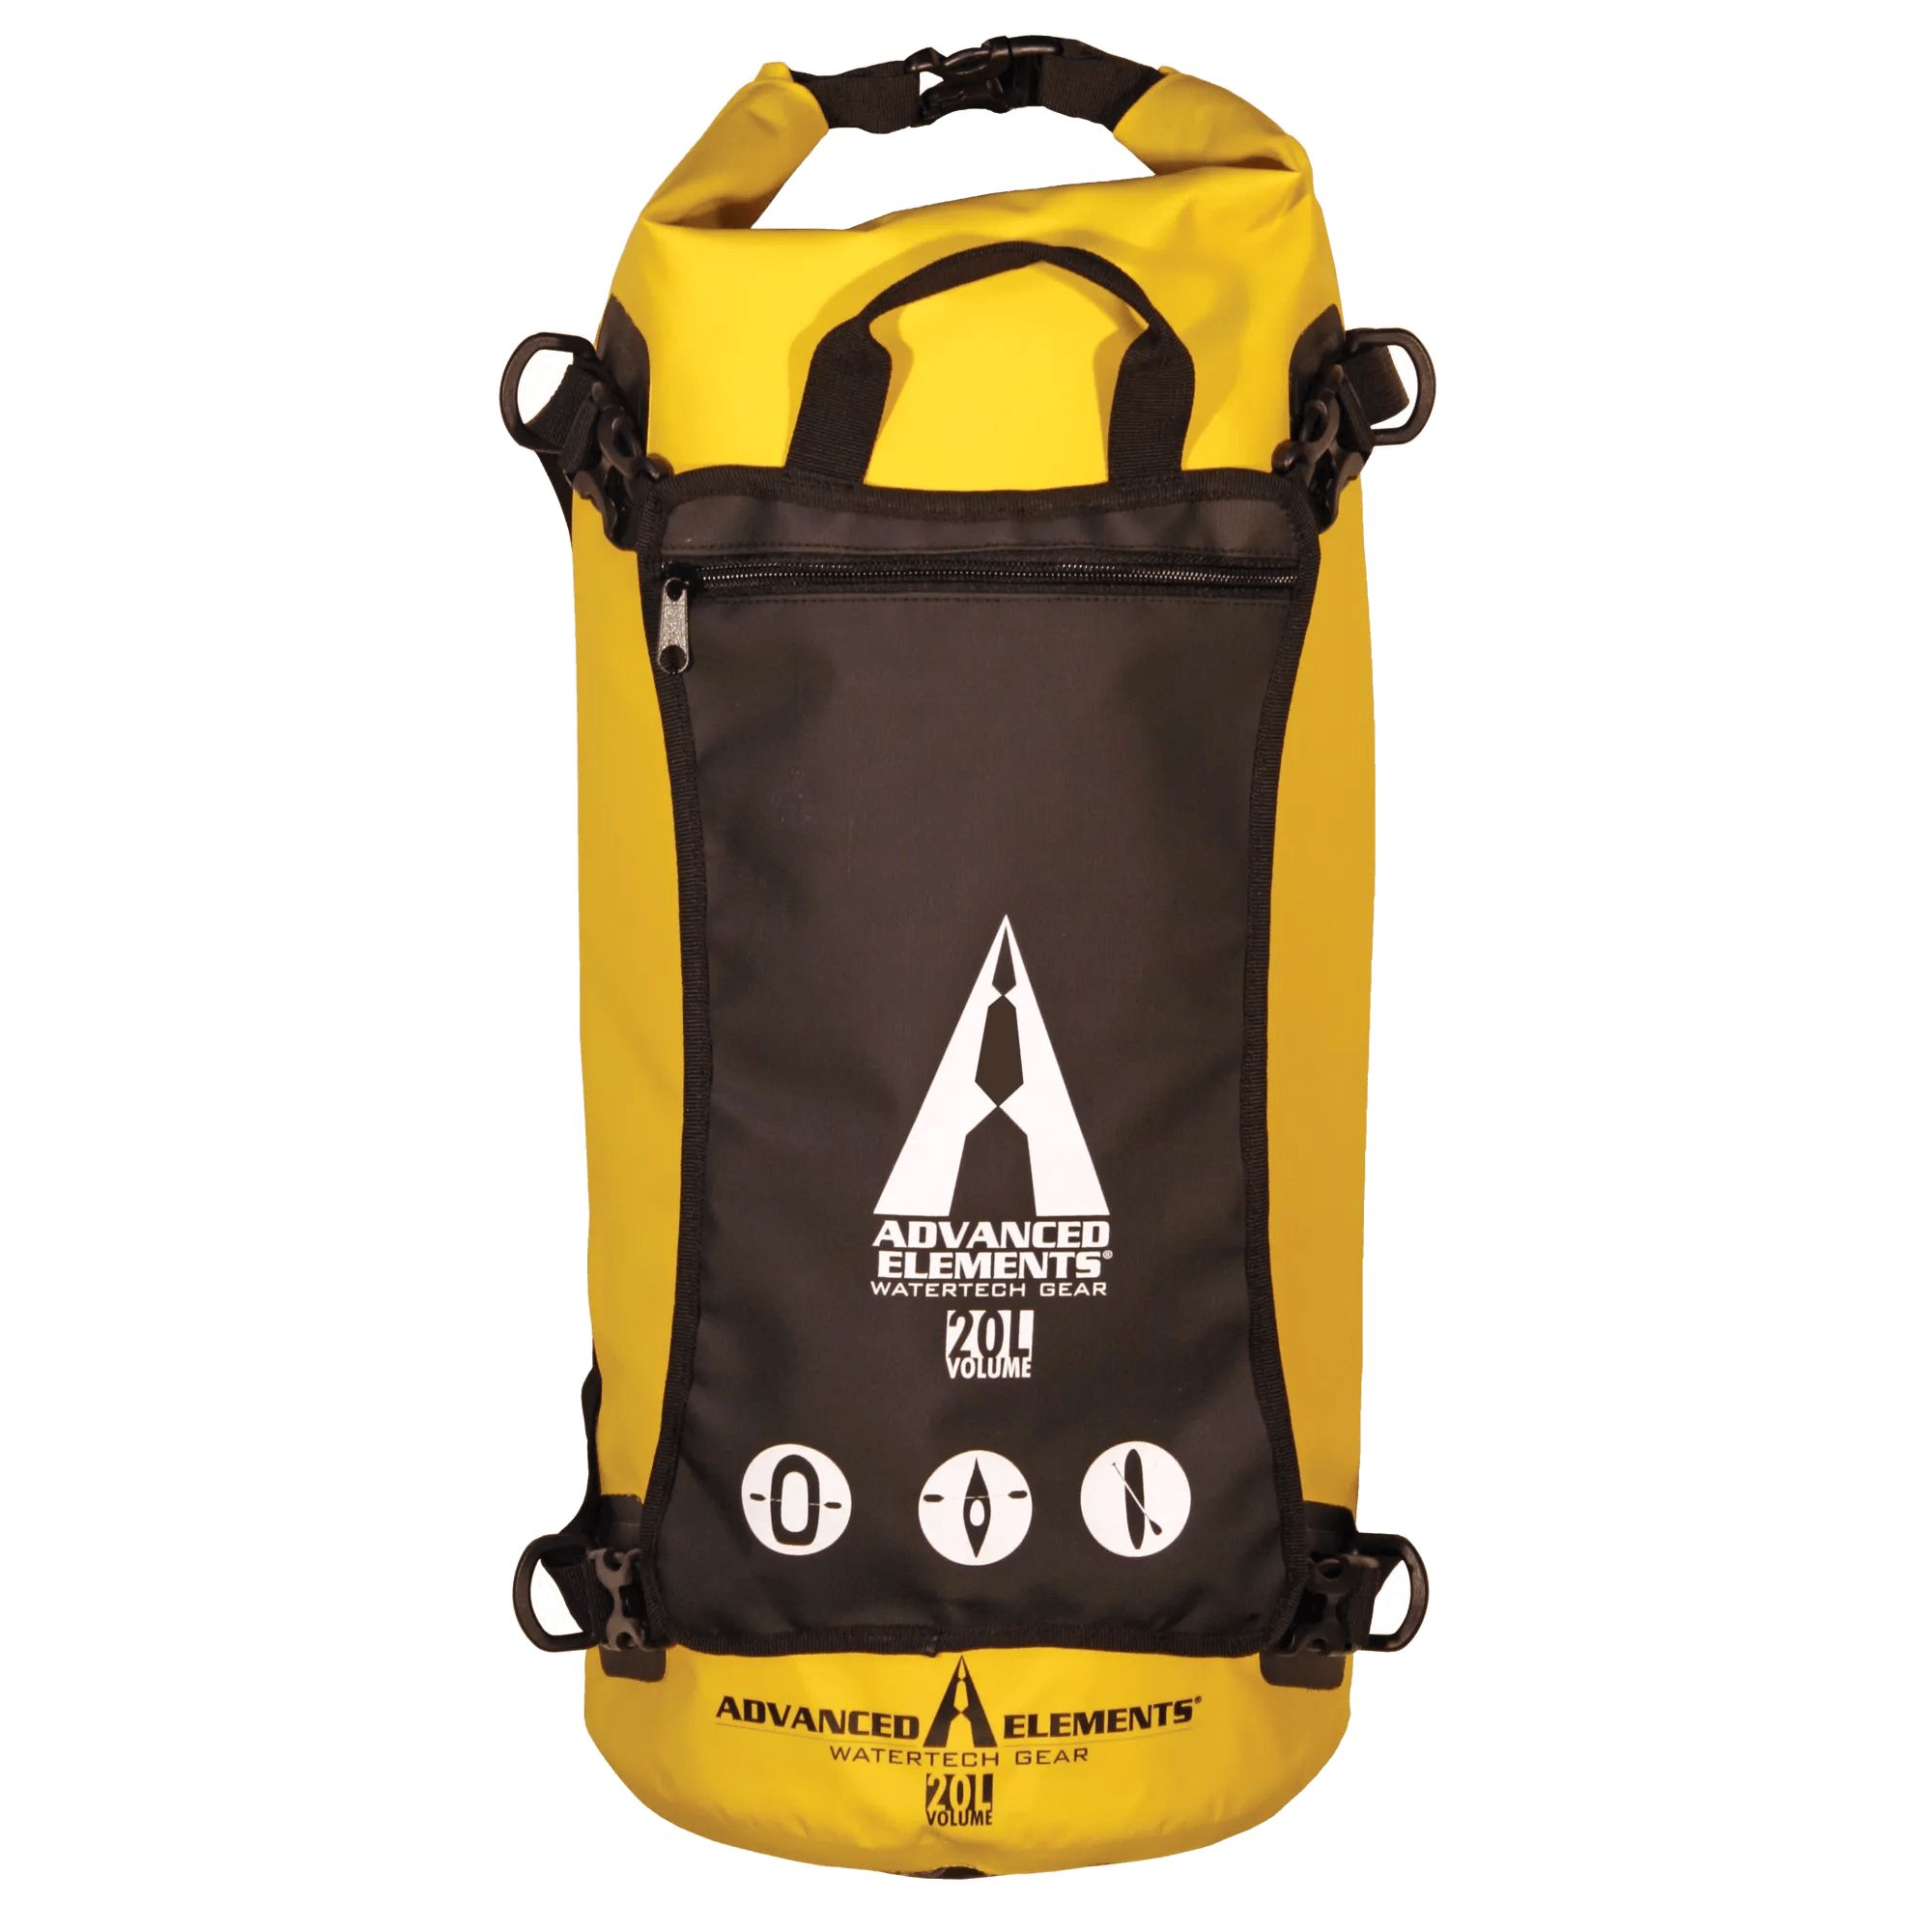
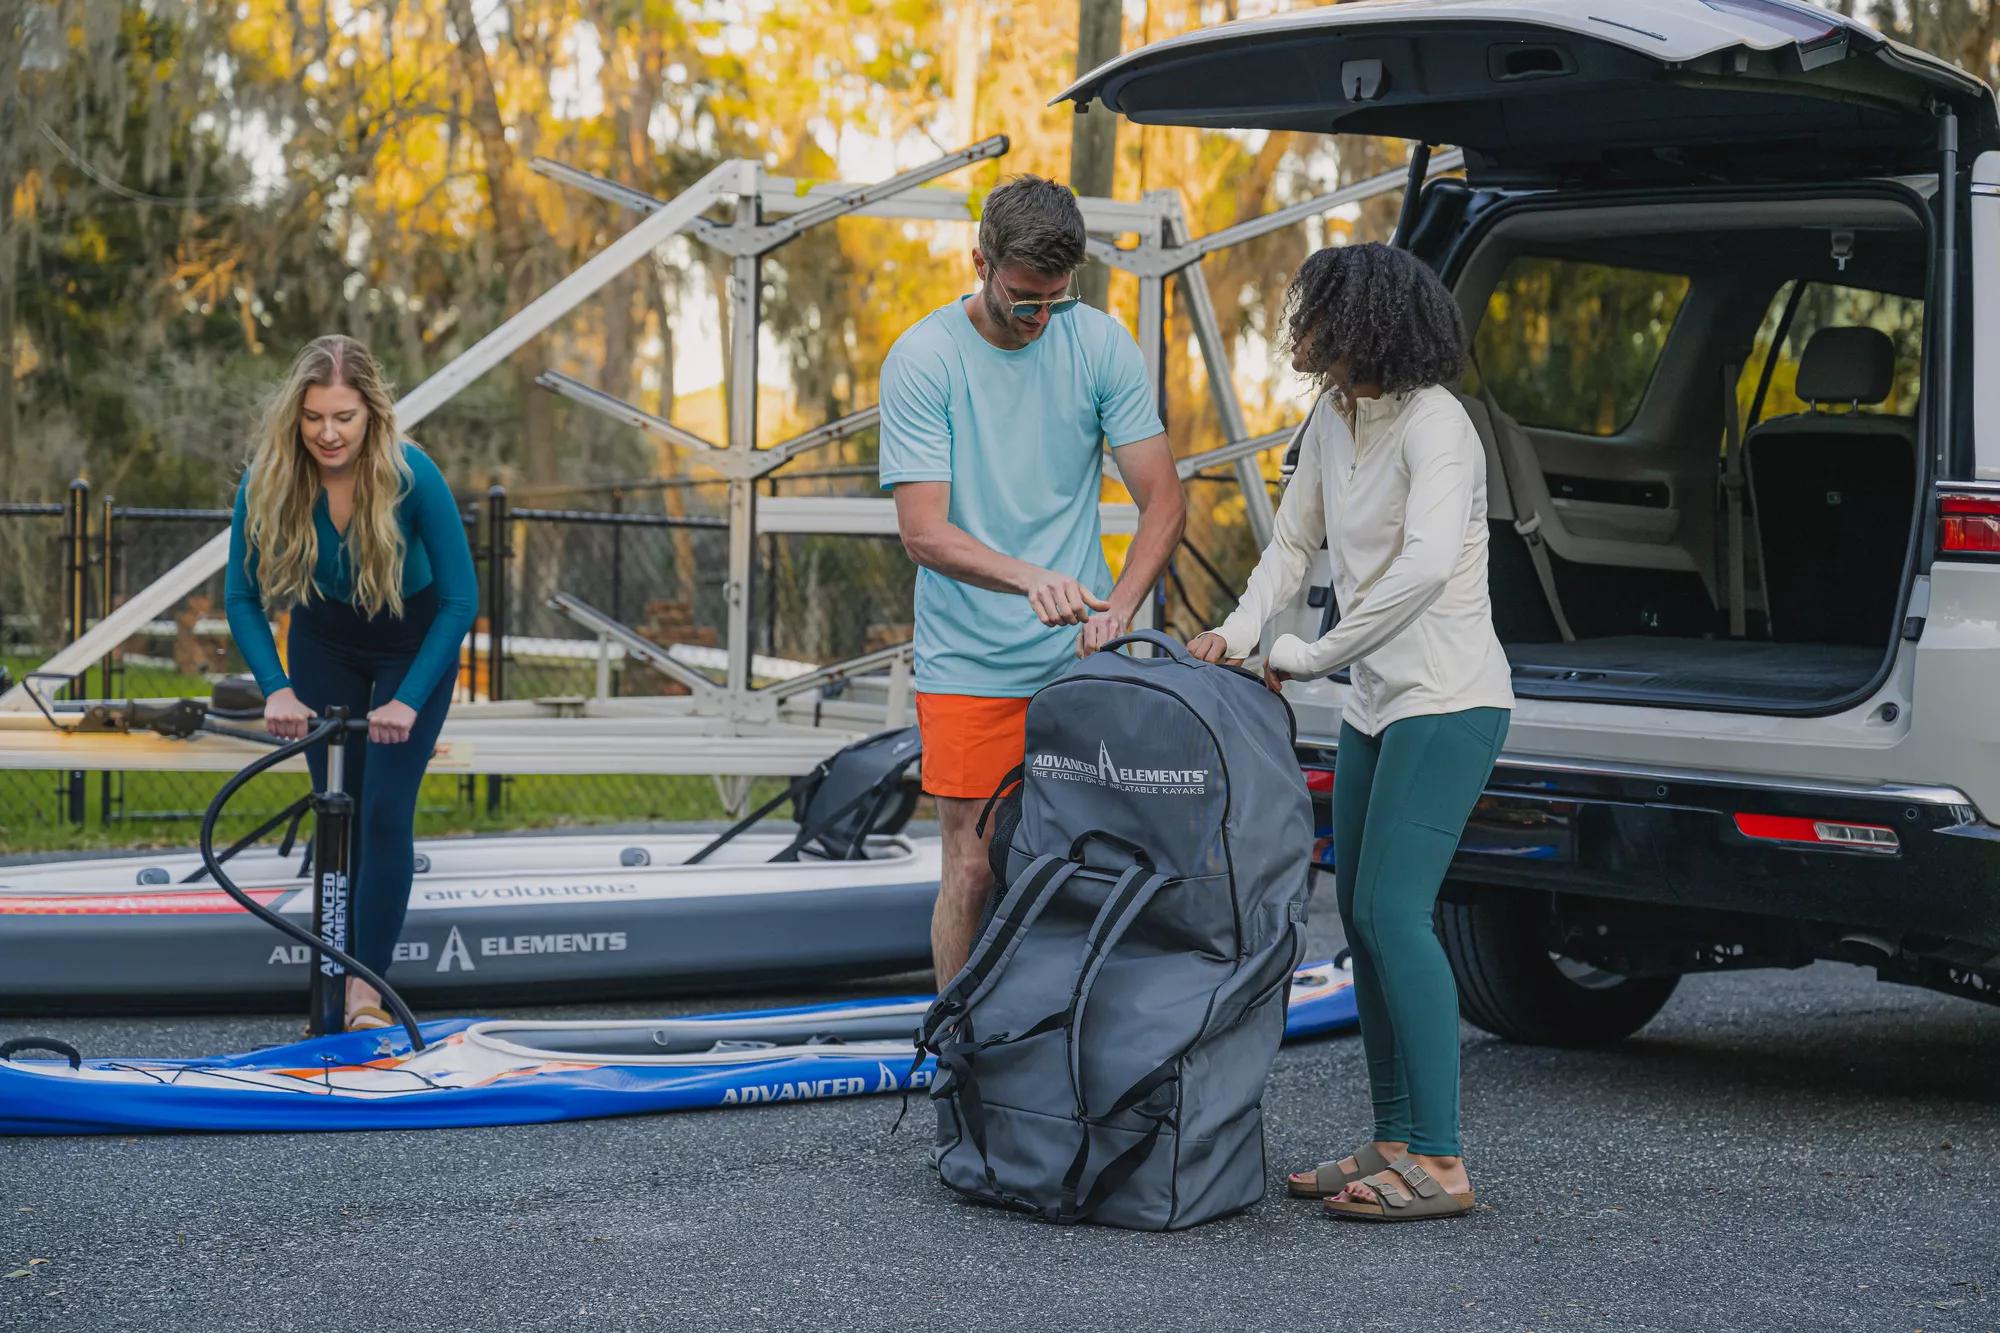
A short note on the skeletal metamorphosis of an AE-1007
Moderator: JCOOLEY
A short note on the skeletal metamorphosis of an AE-1007
That subject title is a mouthful !!
Some time back I posted an entry about the inner tube on my AE-1007 developing a rip at the seams.
Just prior to ordering a new tube, I tell myself, this is a great opportunity to do what I have always wanted: convert the AE-1007 to a skin-on-frame kayak. (SOF)
Olde skin, new frame !!
Having built my own SOF kayak a few years back, I am confidant, but I started this project with some doubtful looks from my kayaking partner: the wife.
Currently , acquired the western red cedar strips and in the process of doing up the frame. Estimated time of launch mid June , methinks.
Should be a very interesting , and optimistically not expensive, excercise.!!
Hope to have some images uploaded soon.
Cheers all
-
- Posts: 6
- Joined: Sat Aug 07, 2010 12:20 am
- Location: Scotland
I will be building the sof as two parts: fore and aft, centre frames bolted together .Always use in tandem mode, so a permanent centre frame is OK.
I have the first mock up ready of the fore part of the sof. Used some scrap plywood for the centre frame, will change to better quality later. Temporarily "tied" with copper wire before the final resin bonding.
Working to getting the images uploaded to my flickr account.
This is what I considered , in no particular order, when I started on this sof conversion:
1. Make lighter: use western red cedar laths as far as possible. Naturally water protected.
2. Gain extra gear loading space for longer touring, hence avoid top deck strapping of gear.
3. For better tracking, make stiffer than iflatable, but not as much as a hard shell . I like the nuances of sof handling in rough water.
4. Keep cost around that of a replacement tube.
5. Since almost always carried on car top and stored inflated, pack ability/fold ability is definitely not a consideration.
6. Maintain original shape ( rounded chines) as far as possible. Maybe change shape/size later (?)
Lets see how many of the above objectives are met. All comments welcome.!!
Cheers
Hi
I uploaded some images of the progress so far. Looks good.
https://www.flickr.com/photos/sofcrafts/
Cheers
I uploaded some images of the progress so far. Looks good.
https://www.flickr.com/photos/sofcrafts/
Cheers
Last edited by yaka2b on Thu Jun 19, 2014 11:50 am, edited 2 times in total.
-
- Posts: 6
- Joined: Sat Aug 07, 2010 12:20 am
- Location: Scotland
Grahamrose .. thanks for the compliment.
Did it the good ole Egyptian way, when building pyramids: 1 cubit and then distance between thumb tip and little finger tip = 9 inches , angle between fore finger and middle finger 45 deg etc etc..
Jest joking !!javascript:emoticon('
')
First I made some measurements with the inflated assembled kayak. Then good old geometry: Inflated tubes have a dia of some 8 inches, thwart is 16 inches, adds up to the width of 32 inches. etc etc.
Then on, just eye-balling the general shape, made some carboard , from the grocery store, templates to get the cross-frames shape before committing to plywood. The position and size of the these frames determines the curve. A mishap or two , had to go to the grocery store to get some more heavy corrugated cardboard boxes!!
My earlier experience, back in New Zealand, building a Tom Yost design folding SOF , helped immensely. My kayak image here: http://yostwerks.com/PrasadA.html
Last evening I completed the "fore" frame, I will epoxy it all together and then sand it for nice rounded corners this weekend. Then the 'aft" frame.
Am I thrilled? You bet!!
Cheers
Did it the good ole Egyptian way, when building pyramids: 1 cubit and then distance between thumb tip and little finger tip = 9 inches , angle between fore finger and middle finger 45 deg etc etc..
Jest joking !!javascript:emoticon('
First I made some measurements with the inflated assembled kayak. Then good old geometry: Inflated tubes have a dia of some 8 inches, thwart is 16 inches, adds up to the width of 32 inches. etc etc.
Then on, just eye-balling the general shape, made some carboard , from the grocery store, templates to get the cross-frames shape before committing to plywood. The position and size of the these frames determines the curve. A mishap or two , had to go to the grocery store to get some more heavy corrugated cardboard boxes!!
My earlier experience, back in New Zealand, building a Tom Yost design folding SOF , helped immensely. My kayak image here: http://yostwerks.com/PrasadA.html
Last evening I completed the "fore" frame, I will epoxy it all together and then sand it for nice rounded corners this weekend. Then the 'aft" frame.
Am I thrilled? You bet!!
Cheers
Hi
Some delay in the project due to family engagements...getting there slowly but surely.
I have updated with 3 images of the aft frame mockup.
Changed the way the cedar laths are set, found the new way gives me better control of the overall hull shape and it is stiffer fore-aft. The end result is a more rounded shape.
Check it out at: https://www.flickr.com/photos/sofcrafts ... 713896507/
Cheers