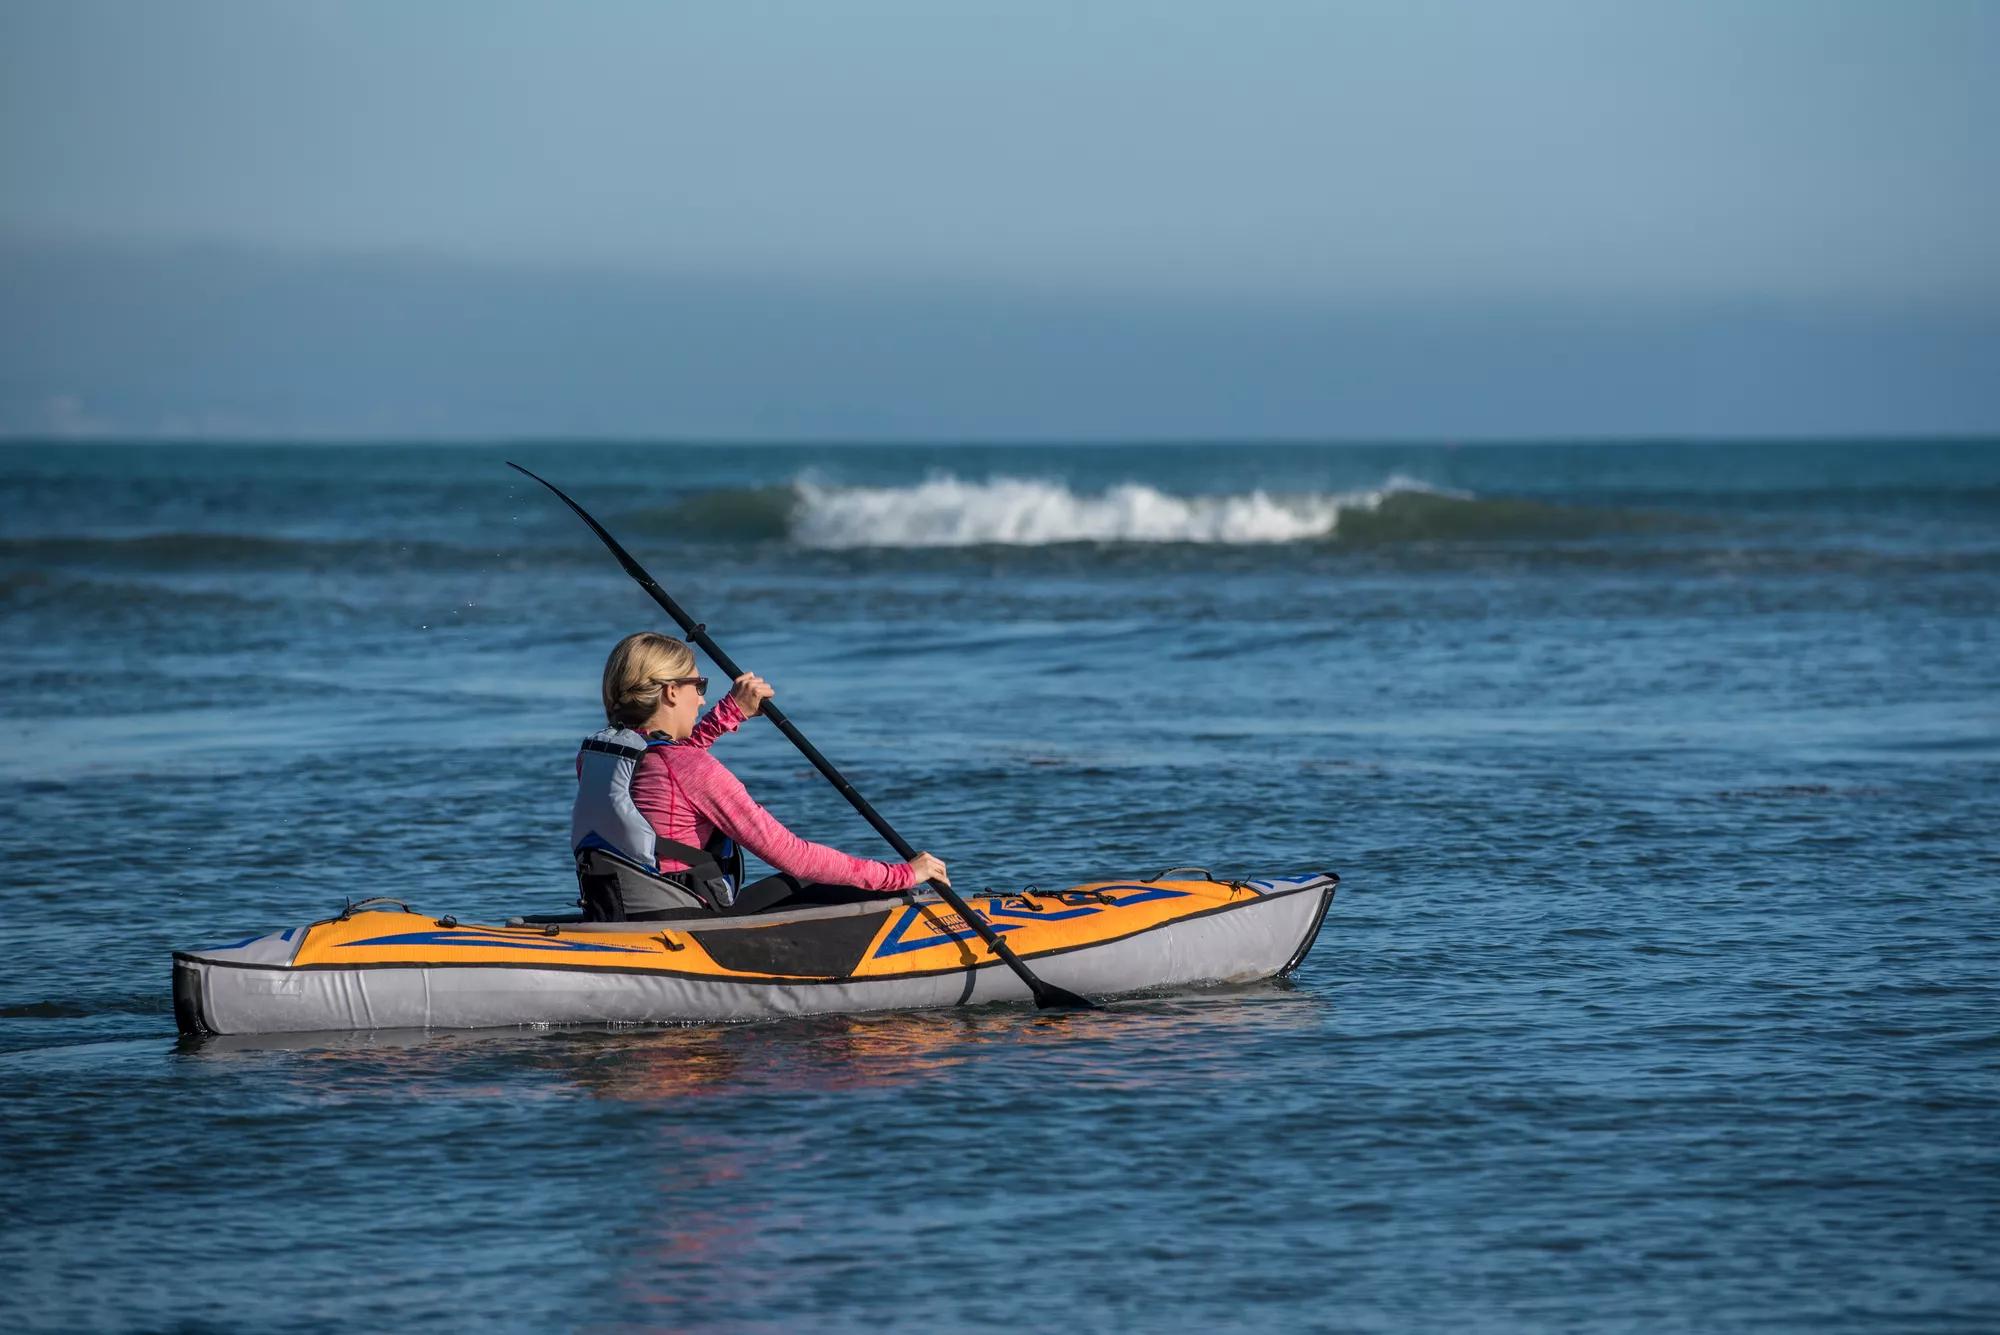
AirFusion Bow & Stern titled ~2"
Moderator: JCOOLEY
-
- Posts: 2
- Joined: Wed Nov 17, 2010 7:56 pm
AirFusion Bow & Stern titled ~2"
Dear Forum,
After getting all the good reviews,Airfusion is now my second kayak. While setting up the beauty one problem keeps nagging me, the bow is tilted left ~ 2" and stern the opposite side. I have a double action pump w/o gauge so my inflating is pumping untill feeling back fill. After that the kayak is always tilted that much. Do I have to pump in more or start realigning the high side and bottom air bodies ? Pls advice
Safe and fun kayaking,
Take some pictures and send it to info@advancedelements.com
Could be the air bags/thwarts aren't aligned properly
You could be incorrectly inflating the main tubes
The aluminum poles may not be correctly in place
Could be the air bags/thwarts aren't aligned properly
You could be incorrectly inflating the main tubes
The aluminum poles may not be correctly in place
-
- Posts: 108
- Joined: Tue Dec 02, 2008 2:51 pm
- Location: vancouver canada
With respect to the "twisted" bow and stern on your AirFusion, there is an easy way to check that the high-pressure inflation chambers are symmetrical with respect to each other. If they are markedly offset against each other, this could produce the twisting you have noted. Here's the check: simply use a tape measure from the bow to the arrows marked on each side of the inflation chambers (midway along the cockpit) and then do the same measurement from the stern to each set of arrows on both starboard and port sides of the kayak. Thanks to your posting, I have just measured my AirFusion: 80" (203 cm) from the tip of the bow to the facing sets of arrows, and 79.5" (202 cm) from the tip of the stern to the arrows on each of the side chambers. Actually, the chambers are about 0.25" (6 mm.) offset from each other - not perfect, but close - and this does not seem to affect the performance of the kayak at all.
Throughout all this, I trust you have put the # 4 poles through the appropriate velcro guide loops at the bow and the # 5 poles through the guide loops in the stern.
The only other thing I can think of is that you may have been playing old "Twisted Sister" albums in the presence of your responsive, and perhaps over-sensitive, AirFusion.
-
- Posts: 2
- Joined: Wed Nov 17, 2010 7:56 pm
skeg for AF
I heard they may be developing a skey or rudder for the AirFusion. Does anybody know when it will be ready?
Most actually prefer no rudder system. It allows the kayak to move with your strokes easier. Instructors and guides usually never use a rudder. They use their body core to control the kayak. For those who do want a rudder though, it is in the finishing stages of development and will be ready for production come mid-late 2011.micahgee wrote:Sadly, with little update, the performance minded kayaker really has to look elsewhere for a collapsible sea kayak.
Without any kind of tracking aid, it will never rival the tracking of a hard-shell.
-
- Posts: 6
- Joined: Fri Jan 28, 2011 6:38 am
- Location: Near Port Phillip Bay
Slight twist in stern
I, too, have found that my high pressure chambers were not installed particularly well straight out of the box.
I worked out that at he bow the inner velcro pads which hold the port and starboard high pressure tubes together need to wrap over or "embrace" the top bow (Al) tube.
Found this out because I bought 2 - one for me and one for my wife.
Hers was not right at the bow, mine was.
At the stern, I find that it is difficult to install "mated" pair of tubes. On inflation I have found that I still have a slight twist.
I would like AE to provide some photos or diagrams of how ordinary humans with hands larger than small children are supposed to get the pointy bits into the bow and stern through the tiny zippers without pain and swearing.
It is tedious to find that after lining everything up and then inflating it it is still not quite right.
There must be a more systematic/methodical way of aligning these tubes!
I'm not sure what you mean when you say " pointy bits". If you have any questions, please email customer service at info@advancedelements.com
Thank you.
Thank you.
-
- Posts: 6
- Joined: Fri Jan 28, 2011 6:38 am
- Location: Near Port Phillip Bay
When I say "pointy bits", I refer to the ends of the high pressure tubes (which aren't pointy, but go into the pointier ends of the kayak).
The inflatable tubes at each end are actually quite bulky, and to fit them into the bow and stern spaces is a bit of a chore.
One has to fit them around, or either side of, the aluminium end-tubes (the curved ones at each end).
Then one has to line up the velcro pads on the tubes' outer surfaces with the matching velcro on the inside of the outer skin.
An actual photo or high quality diagram of how it is meant to fit together would be useful, is all I'm saying.
I will have another look at them today to see if I can work out what might be causing the slight twist.
I agree. The alignment of the velcro patches could be explained in further detail to avoid twisting.
Please make it clear exactly how to align everything in picture form because otherwise you are dooming your customers to have to constantly fiddle with their Fusions in order to get them looking straight.
-
- Posts: 6
- Joined: Fri Jan 28, 2011 6:38 am
- Location: Near Port Phillip Bay
I have got one of our 2 AFs looking pretty good (on one occasion, anyway).
When I next get a chance (Monday/Tuesday, hopefully), I will revisit the exercise on that one and then on the other one.
I'll do photos which I'll send to AE for their comments, then when I'm satisfied of the full cause/effect of various changes, will do a detailed posting.
One thing I found is that the bow and stern end-tubes (the bent ones) and the tapered cavity in the outer skin's ends mean that it's not possible to insert the velcroed inflatable tubes into their rightful place with the velcros fully done up. How that all relates would benefit from detailed pictures, which I intend to create as part of tuning my 2 AFs.
Whilst trying to catch trout in the highland lakes of Tasmania from an AF, by the way.
twisted kyak
I too am dealing with the same issue. And after reading these posts I still don't quite understand what to do. Could anybody who managed to find a easy and/or effective way to fix this problem explain it to me how they managed.
Hi,
This is a picture of my FUS inside with thwart removed.
What you can see, is that the top part of the top tubes velcro is detached and V-shaped to give space to the top bow pole. This happens naturally as the tubes inflate and get a round shape (the velcro obviously cannot stay attached)
Same for the bottom